I still have leftover chocolate from an Easter egg and for some unfathomable reason to anyone else, I don’t really eat them.
I wrote that sentence last May and one year on, I find myself in the same position. I looked for this draft blog post in the hope that past self had written down the rocky road recipe that was made last year with that leftover Easter egg chocolate, as current self would like to make the same. But alas, it was not to be! Current self has searched her notes, Evernote, Instagram posts and draft blog posts to no avail. She is annoyed with past self, “why, oh why did she not write it down?”
So, déjà vu and I’m back searching the internet for rocky road recipes. This year, I can report back that rocky road recipes are, on the whole, all pretty similar. Generally, they all contain about 200-250g of biscuit*, 100-150g butter (not margarine!), 3-6 tablespoons of golden syrup, 200-300g milk and dark chocolate and 80-200g of a mixture of marshmallow/dried fruits/nuts/other goodness. My main sticking point with a traditional rocky road is the marshmallows. I’m not a marshmallow fan and I think they can make it overly sweet. So, dear reader, the question I pose to you is – is it rocky road without the marshmallow?
*I just prefer using malted milk biscuits to the digestive biscuits that are traditionally used. They just make it taste better, in my opinion. I can’t explain it more than that.
Ingredients for my rocky road but remember it is flexible
Ingredients
150g butter
150g milk chocolate
150g dark chocolate
2 tbsp date molasses
2 tbsp golden syrup
200g malted milk biscuits
50g pretzels or cereal or other type of biscuit (I used a choco hoops)
150g mix of sultanas, dried cranberries, dried apricots, pecans or walnuts.
Method
Step 2.Step 3.Step 4.
Line a baking tin with baking paper or a reusable silicone baking liner. The tin should be deep(ish) and about 20x20cm or 27×20cm or 28×18cm.
In a medium to large saucepan, measure out the butter, milk chocolate and dark chocolate, date molasses and golden syrup. Melt them over a medium heat and stir to combine it all together. Take it off the heat.
As the chocolate slowly melts, roughly crush the biscuits, pretzels/cereal and nuts (if using) in a medium sized bowl. I use the back of a rolling pin for this. Then add in the dried fruit. Next, carefully pour the dry ingredients into the melted chocolatey, buttery goodness and mix so that the chocolate covers everything!
Put in the fridge for at least 2 hours to set. Cut it into 16-20 portions and enjoy.
The verdict?
I think that it is still rocky road without marshmallows. Naturally, I prefer them like this. However, I’d actually go one step further than saying ‘I prefer it’, because obviously a non-lover of marshmallows would say that, and declare that they are more-ish because they aren’t overwhelmingly sweet due to the absence of marshmallows.
Tonight as I was wondering which recipe to share with you (it was between apple crumble and poached eggs), I remembered that I’d been baking a lot of cookies recently and posting photos of them on Instagram. It’s time, isn’t it. The time has finally come to share my crack cookie recipe that I’ve been promising for a while.
Top tip: Keeping cookie dough balls in the freezer are an investment in your future self’s happiness.
There are variations of that sentence around the internet and social media. That’s my paraphrase above. It is one of the reasons why I love making these cookies. This recipe will make enough so that you can store some away (like squirrels do with their nuts in preparation for winter) for a moment when you really want to eat a cookie, or bake something but have no energy for it. That was me two nights ago. I arrived home from work physically and emotionally exhausted, wanting to be fed and then to sit down with a home baked biscuit to watch episode 2 of the Great British Bake Off – Biscuit week. Fortunately I live with a family who will let me do all those things and I had frozen cookie dough balls stashed away in the freezer.
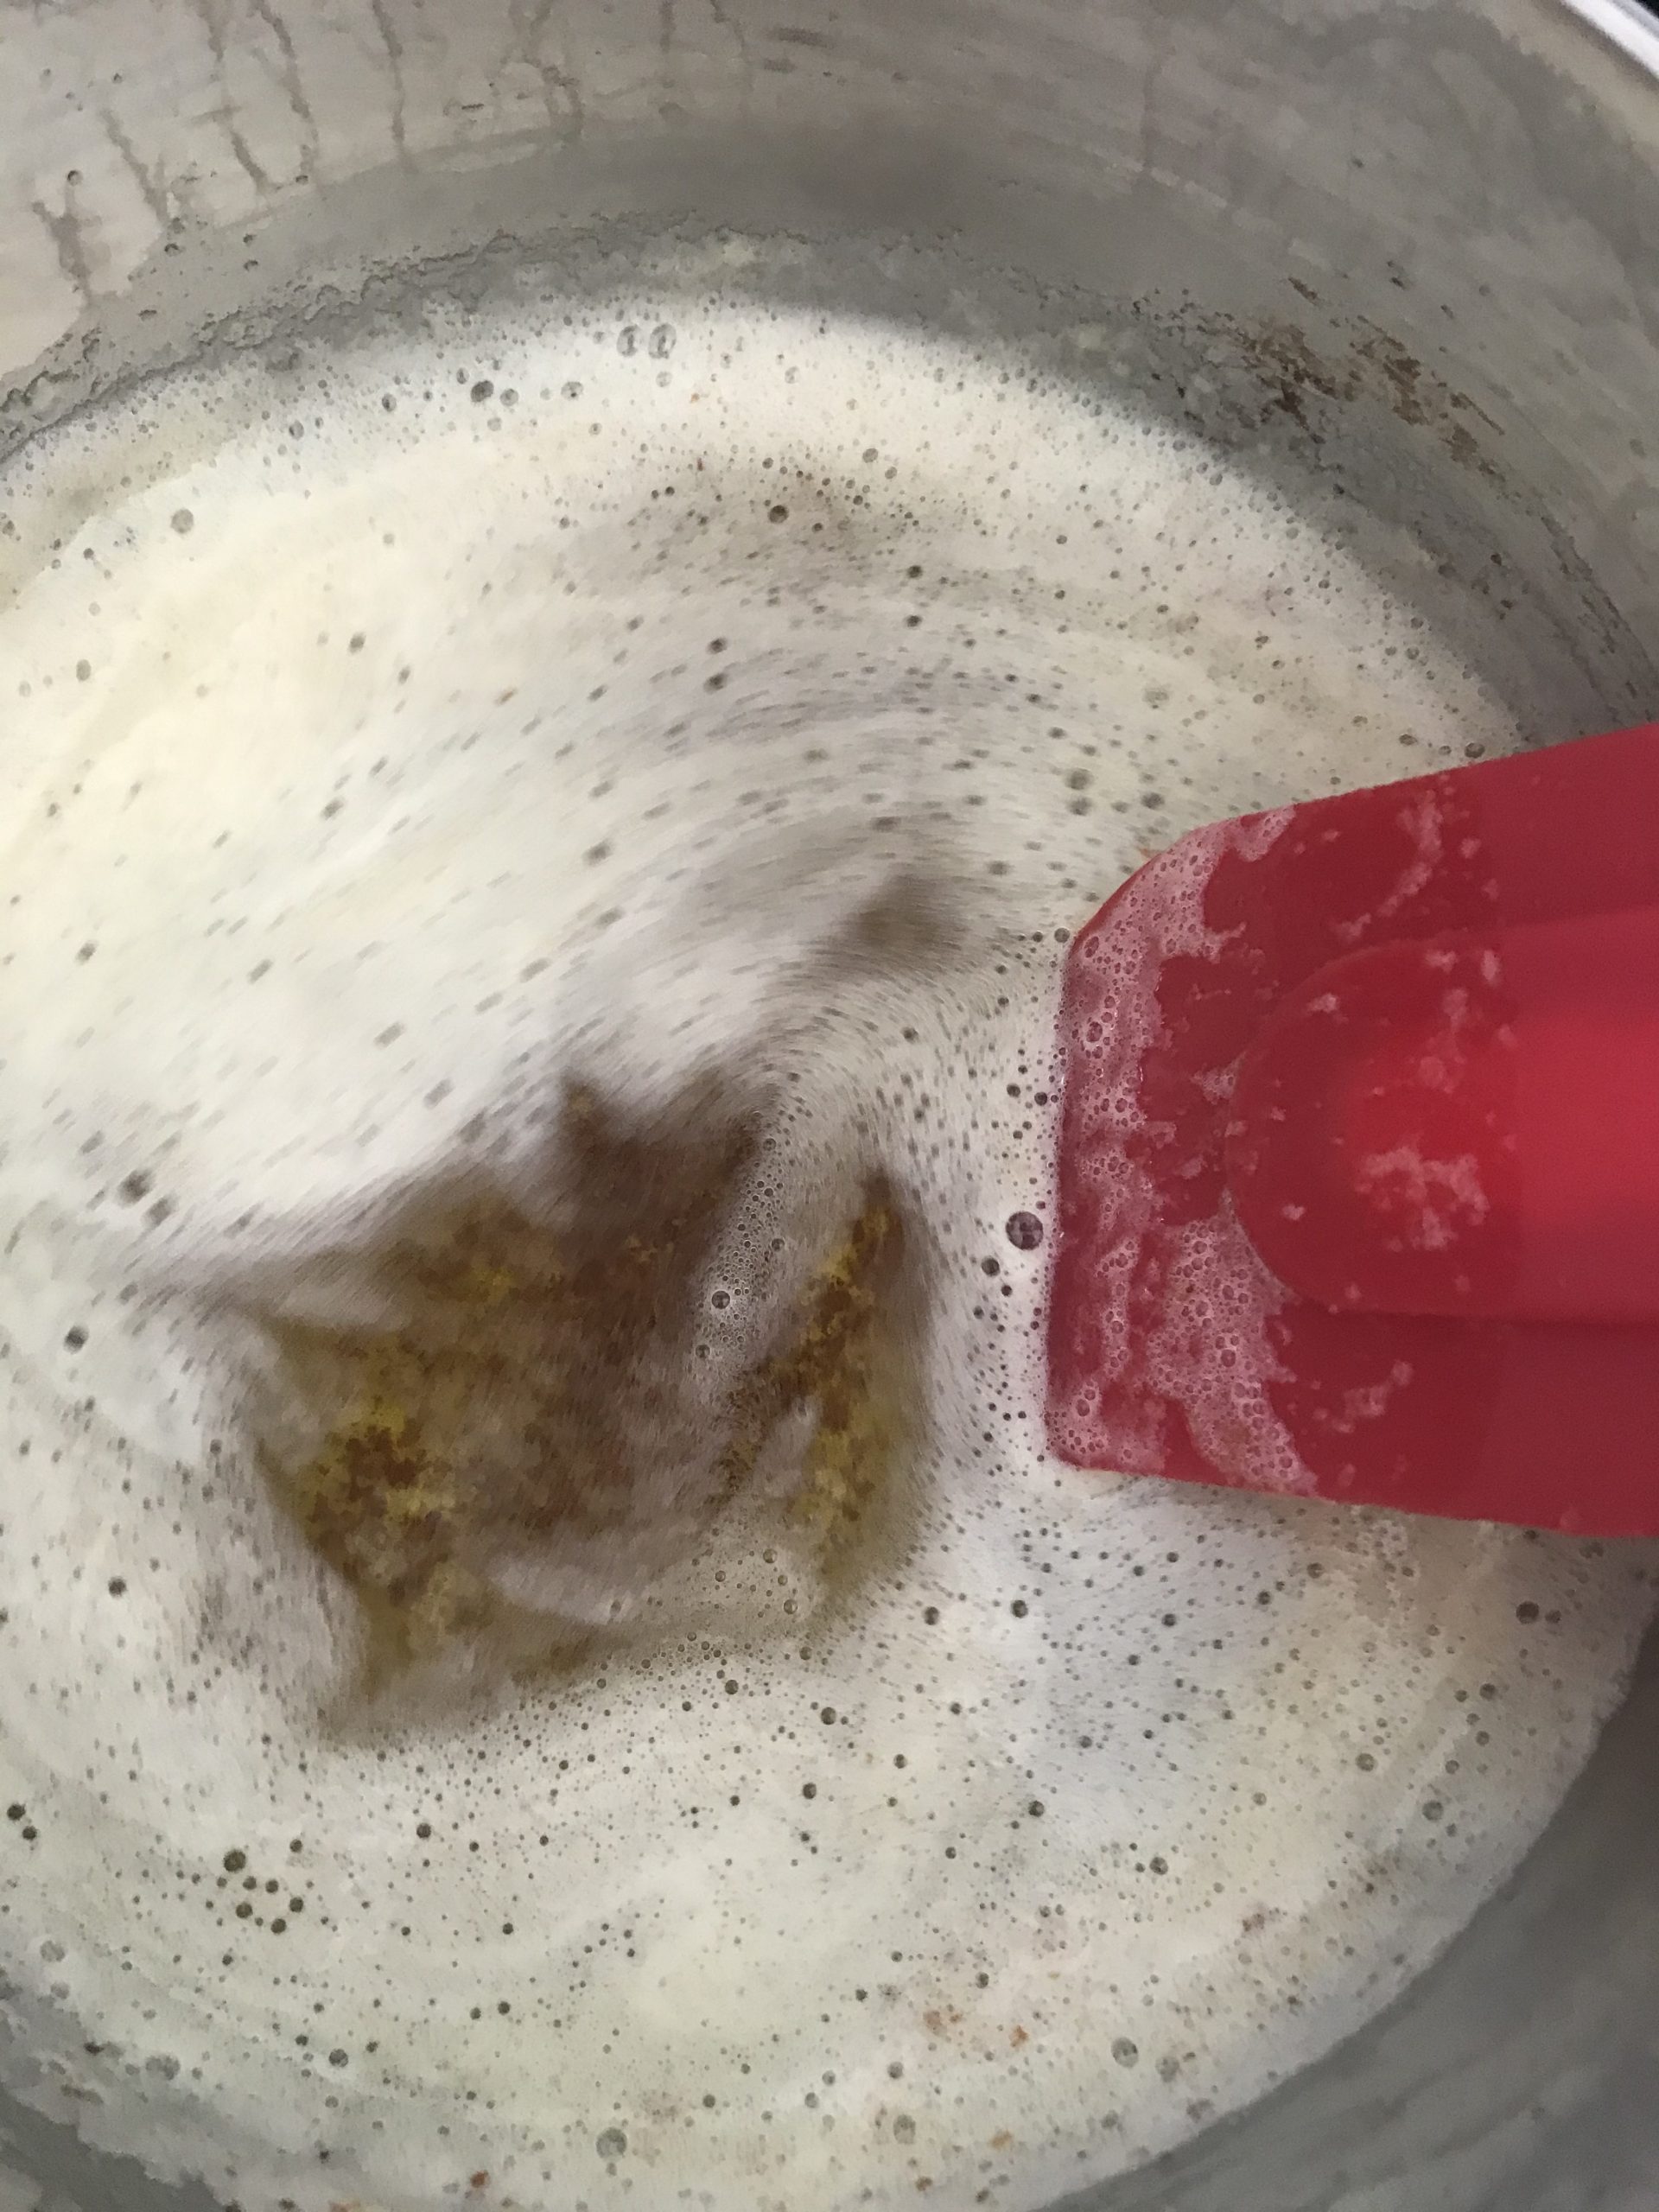
As the butter melts, it foams as the water evaporates.
I went through a phase when I was obsessively recipe testing chocolate chip cookies in Phnom Penh to perfect that American style cookie of soft and gooey on the inside, with crispy edges. This was a pretty happy time for those around me. Being around so many more internationals opened up a whole other world of baked goods, their expectations of them and their tastebuds. I enjoyed the challenge of trying to recreate those baked goods that they were nostalgically craving that I had never tasted before. And then of course selling them.
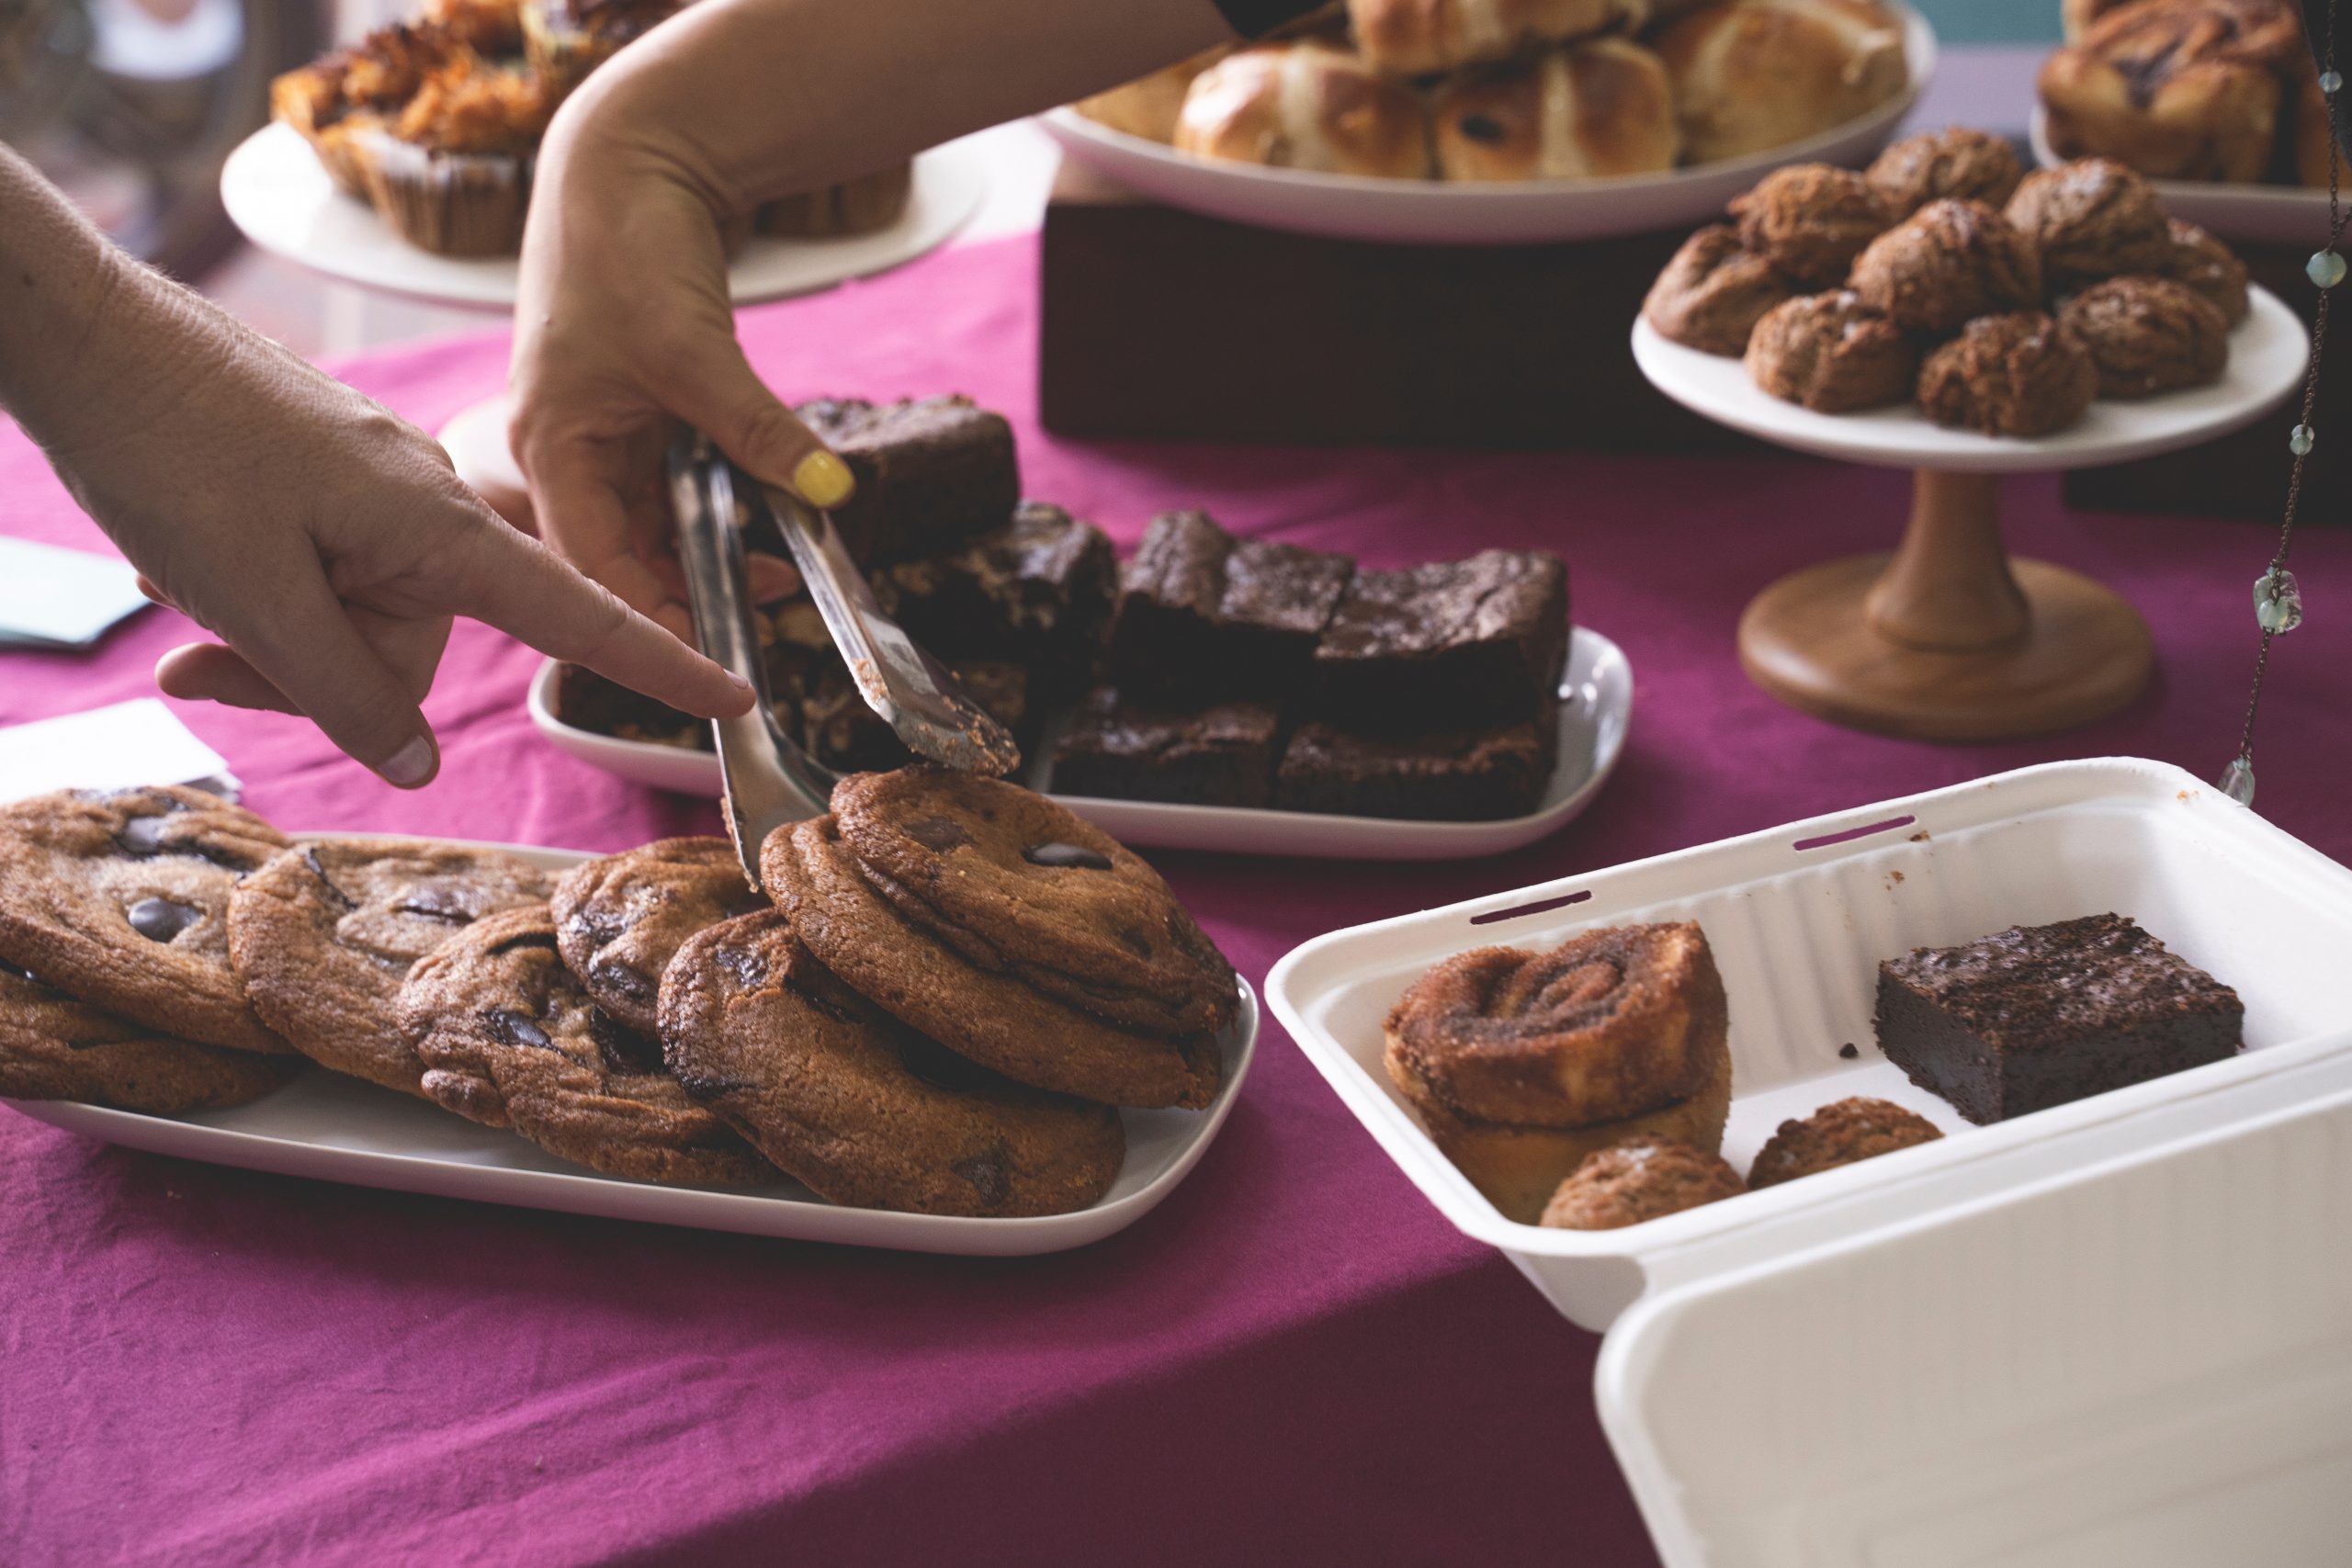
Photo credit to @pipcree who took this photo at one of my final pop-ups in PP.
I learned stuff as I researched which I’ll share with you because that’s what this blog is about:
THE MOST IMPORTANT part is to REST the dough so that the baking magic can happen. Firstly, it allows the flour to absorb the fats and the liquids and thus create that puffy, crispy texture. Secondly, the sugars get a chance to chill out and mellow out resulting in richer flavour. In some baking chemistry magic by resting them, they will taste sweet but not overly sugary. It’s a minimum 2 hour wait if you’re impatient, but preferably overnight.
I often use a stand mixer to make this but the joy of this recipe is that as all the butter is melted, it is easy to do in a large bowl and a spatula/large mixing spoon.
Allow the brown butter to cool down. Sometimes I don’t and it results in a more delicate, tender cookie.
Remember with a cookie recipe, you don’t want to cream the butter and sugar together. We just want to mix them sufficiently, not beat air into them.
Mix up different types of chocolate to create a more complex chocolate profile, that’s why I use dark and milk chocolate. I read somewhere (I’m sure it was on Serious Eats but I can’t find the link) that if you use one type of chocolate then your taste buds get used to and stop tasting it. However, if you vary different makes or types of chocolate, your tastebuds will continue to taste them.
My recipe testing pales in comparison to Serious Eats. I am still learning.
Brown butter creates a rich, nutty flavour which I really enjoy.
Why do I call them crack cookies? That’s the nickname that my friend Grace gave them and it caught on. These cookies are really more-ish, sweetly addictive, soft but slightly crispy and satisfyingly not overly sweet. The brown butter gives a slightly nutty flavour, without any nuts, and the two types of chocolate means that each mouthful is a flavour party. I made two batches of these cookies for the soft opening of her store, Ginger and Grace. For some reason, they didn’t make it onto the tables but her friends discovered them later that evening and ate through an entire batch of them. I guess that cemented their reputation as crack cookies.
Now I tell people that these brown butter, chocolate chunk cookies are my best work.
The cookie recipe comes from Ambitious Kitchen. I haven’t made any major changes to it, except I like to weigh everything so obviously here I’ve converted it into grams. There’s a very similar recipe on Joy the Baker. The differences are that Monique browns ALL the butter, uses dark brown sugar, uses two different types of chocolate, adds in a tablespoon of greek yoghurt and doesn’t use nuts. Joy uses light brown sugar but adds in 1 tsp molasses, adds pecans and uses dark chocolate only. I prefer the Ambitious Kitchen version.
Making a double batch of cookies
Ingredients for Brown Butter Chocolate Chunk Cookies very slightly adapted from Ambitious Kitchen
227g butter
100g white granulated sugar
200g dark brown sugar
1 large egg and 1 egg yolk
1 tbsp natural yoghurt or greek yoghurt
2 tsp vanilla extract
280g plain flour
1 tsp bicarbonate of soda
1/2 tsp table salt
140g dark chocolate cut into small chunks, or the chocolate chips, or round discs*
140g milk chocolate cut into small chunks, or the chocolate chips, or round discs
*for prettier looking cookies: if using round discs of chocolate, keep around 21 discs aside to firmly place on the cookies after they have baked. The chocolate will temper as they melt and thus have a nice shine making them prettier to eat.
Method
First brown the butter. Add all the butter to a medium-sized saucepan and place over medium heat. It will start to froth and cackle. That is the water evaporating. Continue and stir the sides and scrape the bottom a few times so that it doesn’t burn. When it is ‘as quiet as a ninja’ (quote from Stella Parks) it is ready. Take it off the heat and either pour the butter in a bowl to cool down, not forgetting to scrape the browned bits from the sides and bottom. Or as I often do, fill up the sink with cold water and carefully place the hot pan in there to cool down.
Add both the sugars into a large mixing bowl and the cooled brown butter and mix for a minute or two until they are combined. I use the paddle beater (K-beater on the Kenwood). Don’t discard the egg white. Store it in the freezer for a cocktail or macaron/meringue baking on a later date.
Now add in the vanilla extract, yoghurt and the large egg and egg yolk and mix again for a minute. It will look and smell like toffee.
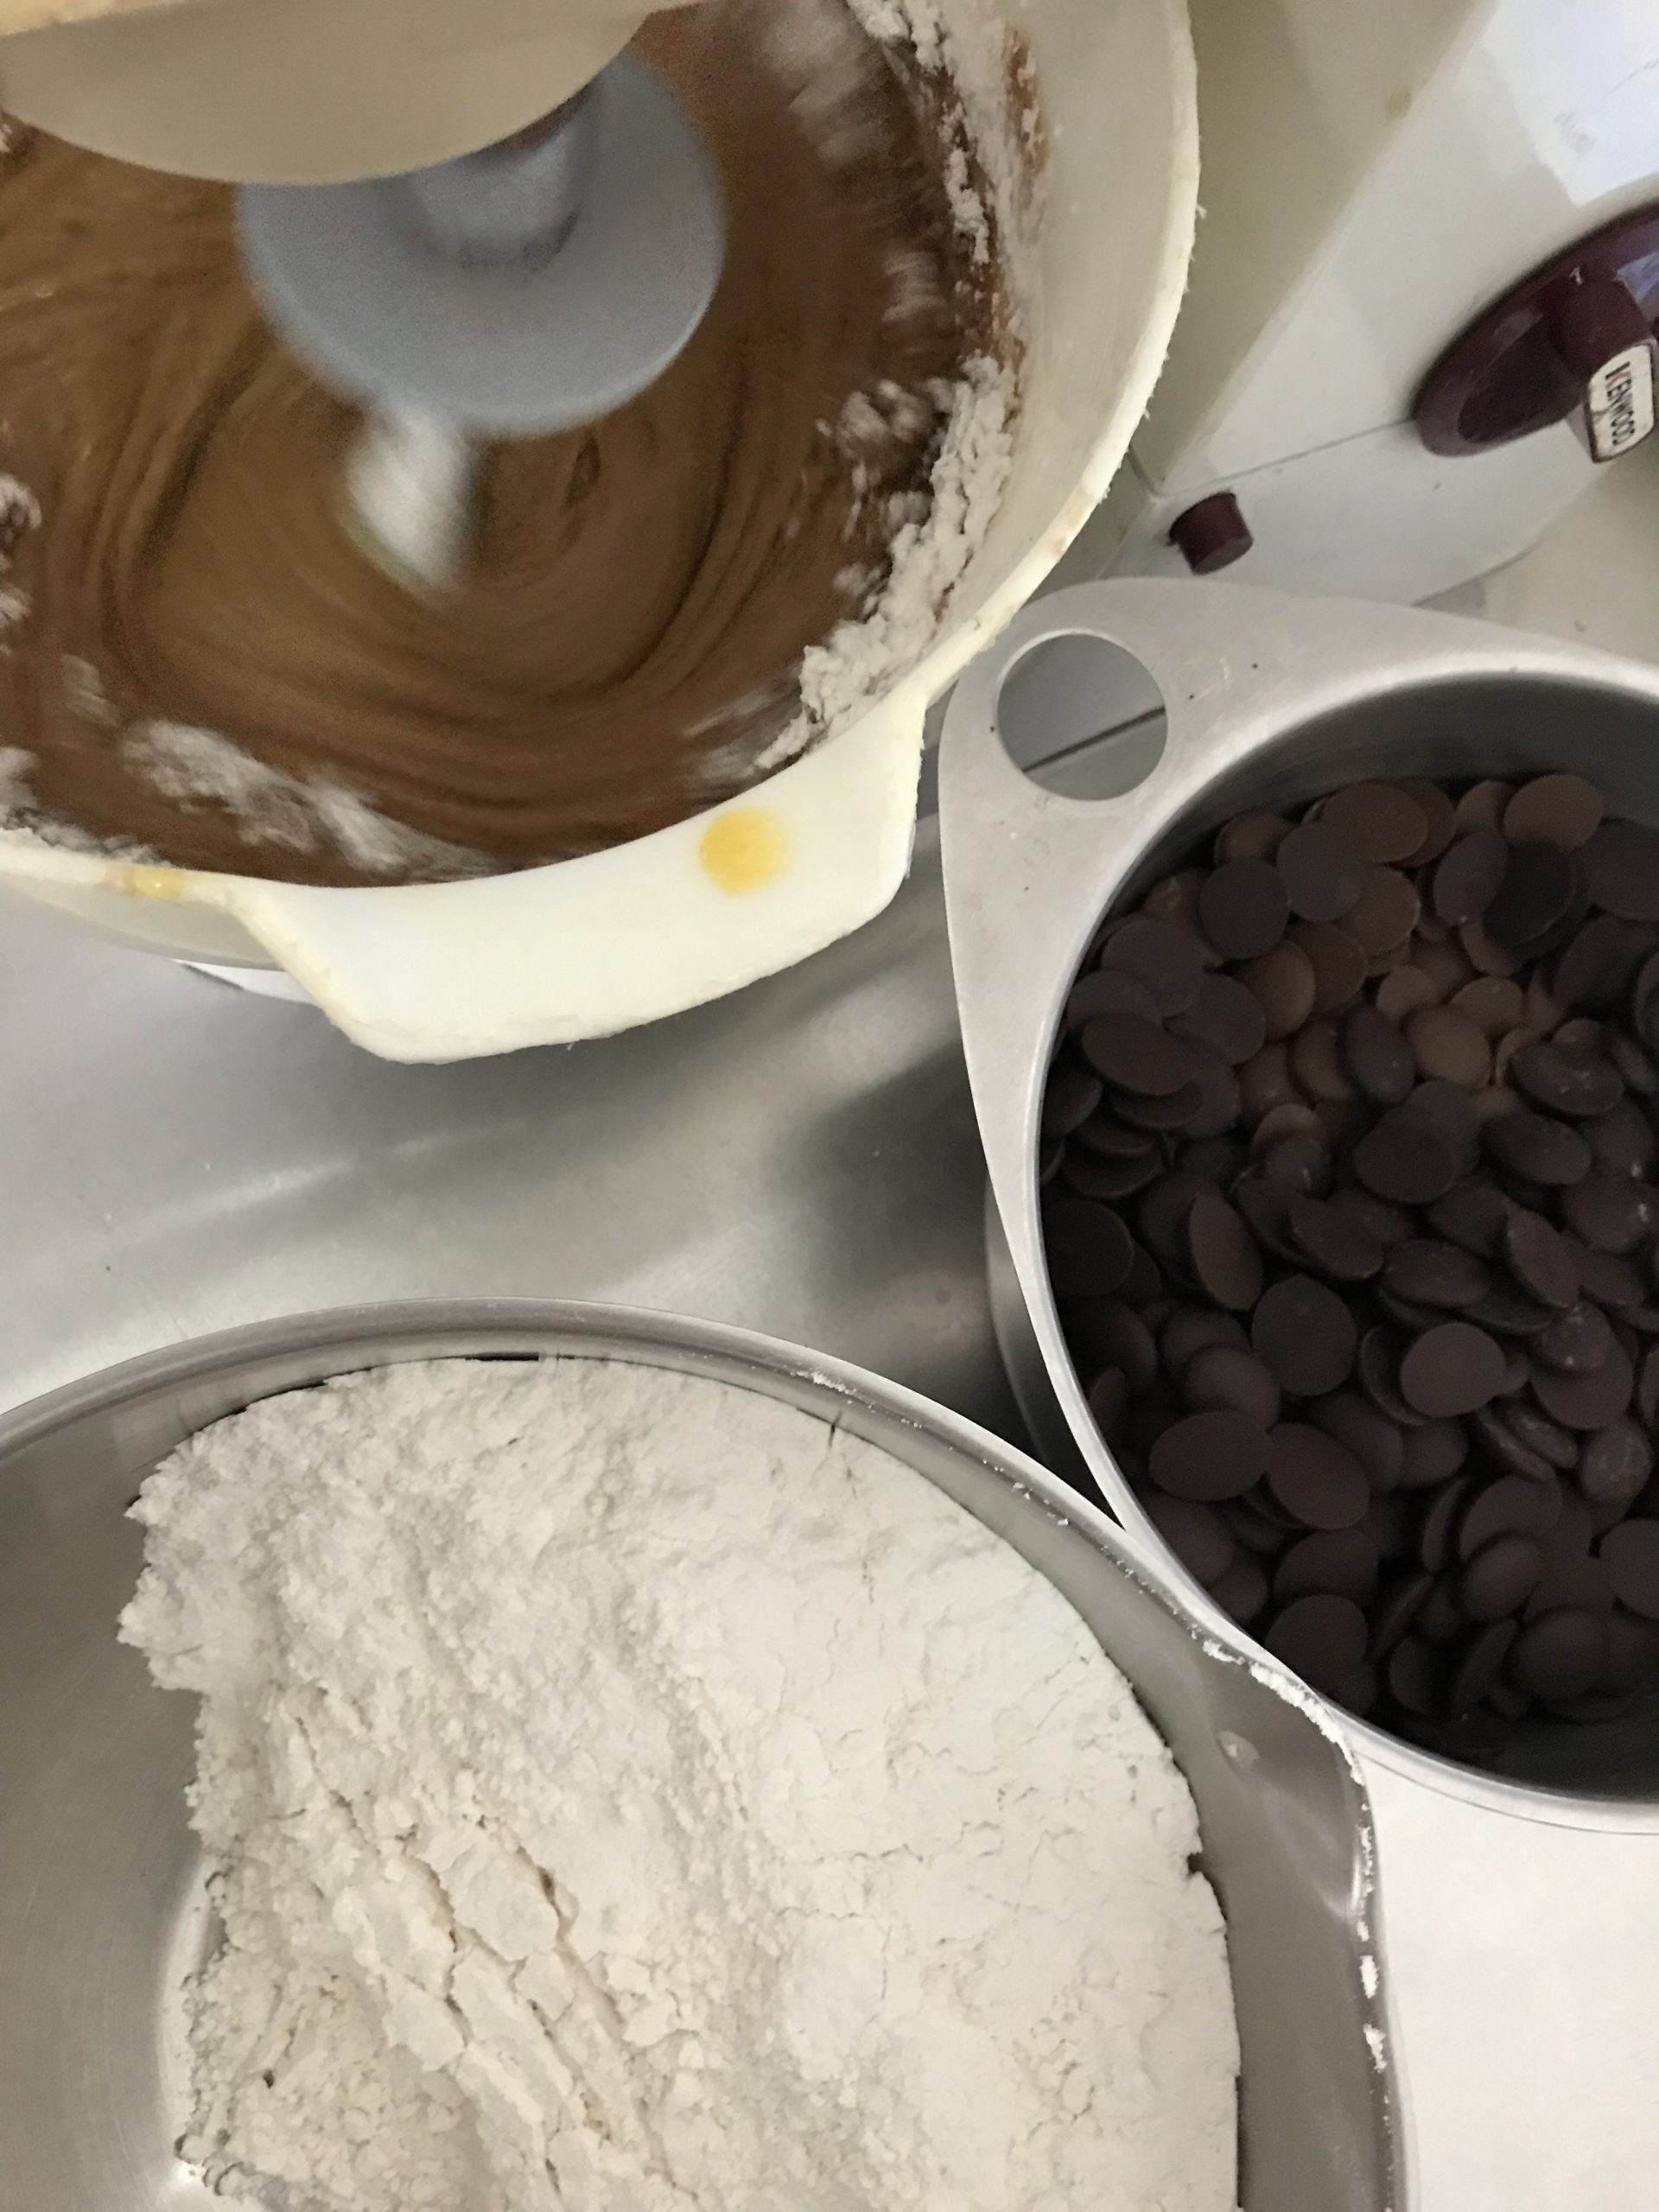
In a separate bowl, measure out the flour, bicarbonate of soda and salt and whisk to mix. Then add this to the butter/sugar/egg mixture and mix slowly so that the flour doesn’t fly up.
When it looks like the flour has just about combined then add in the chocolate chunks and mix again.
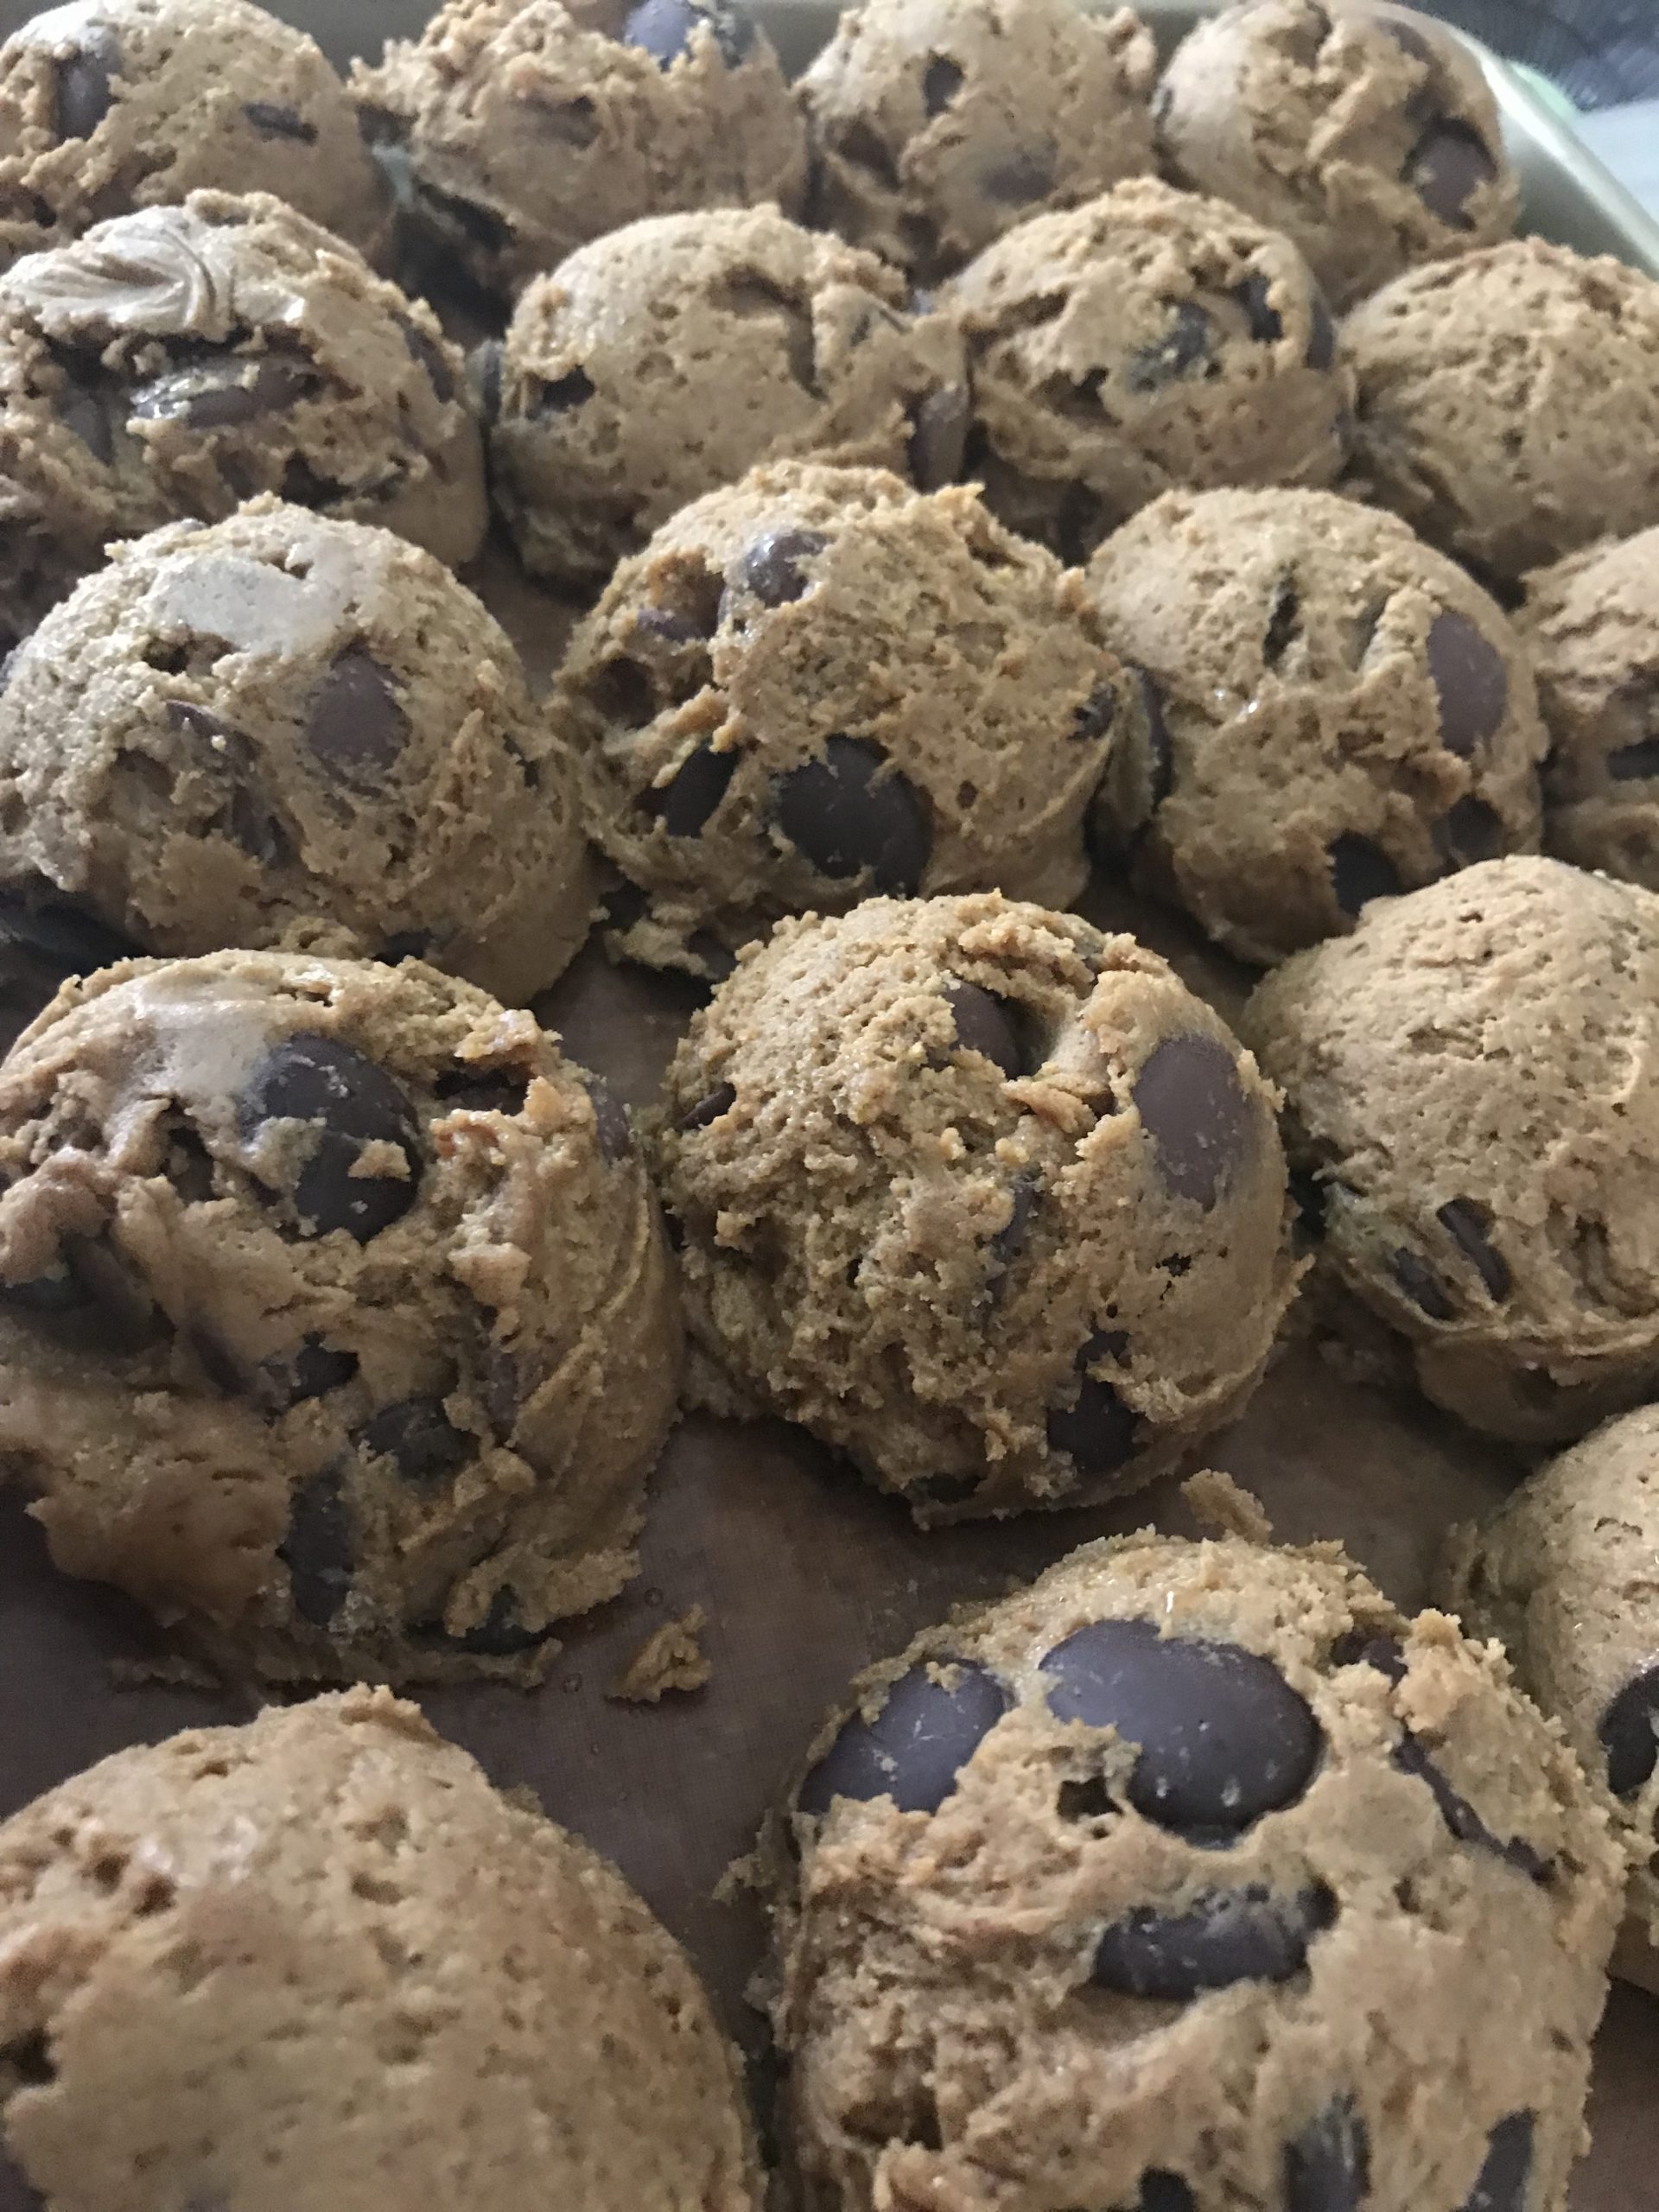
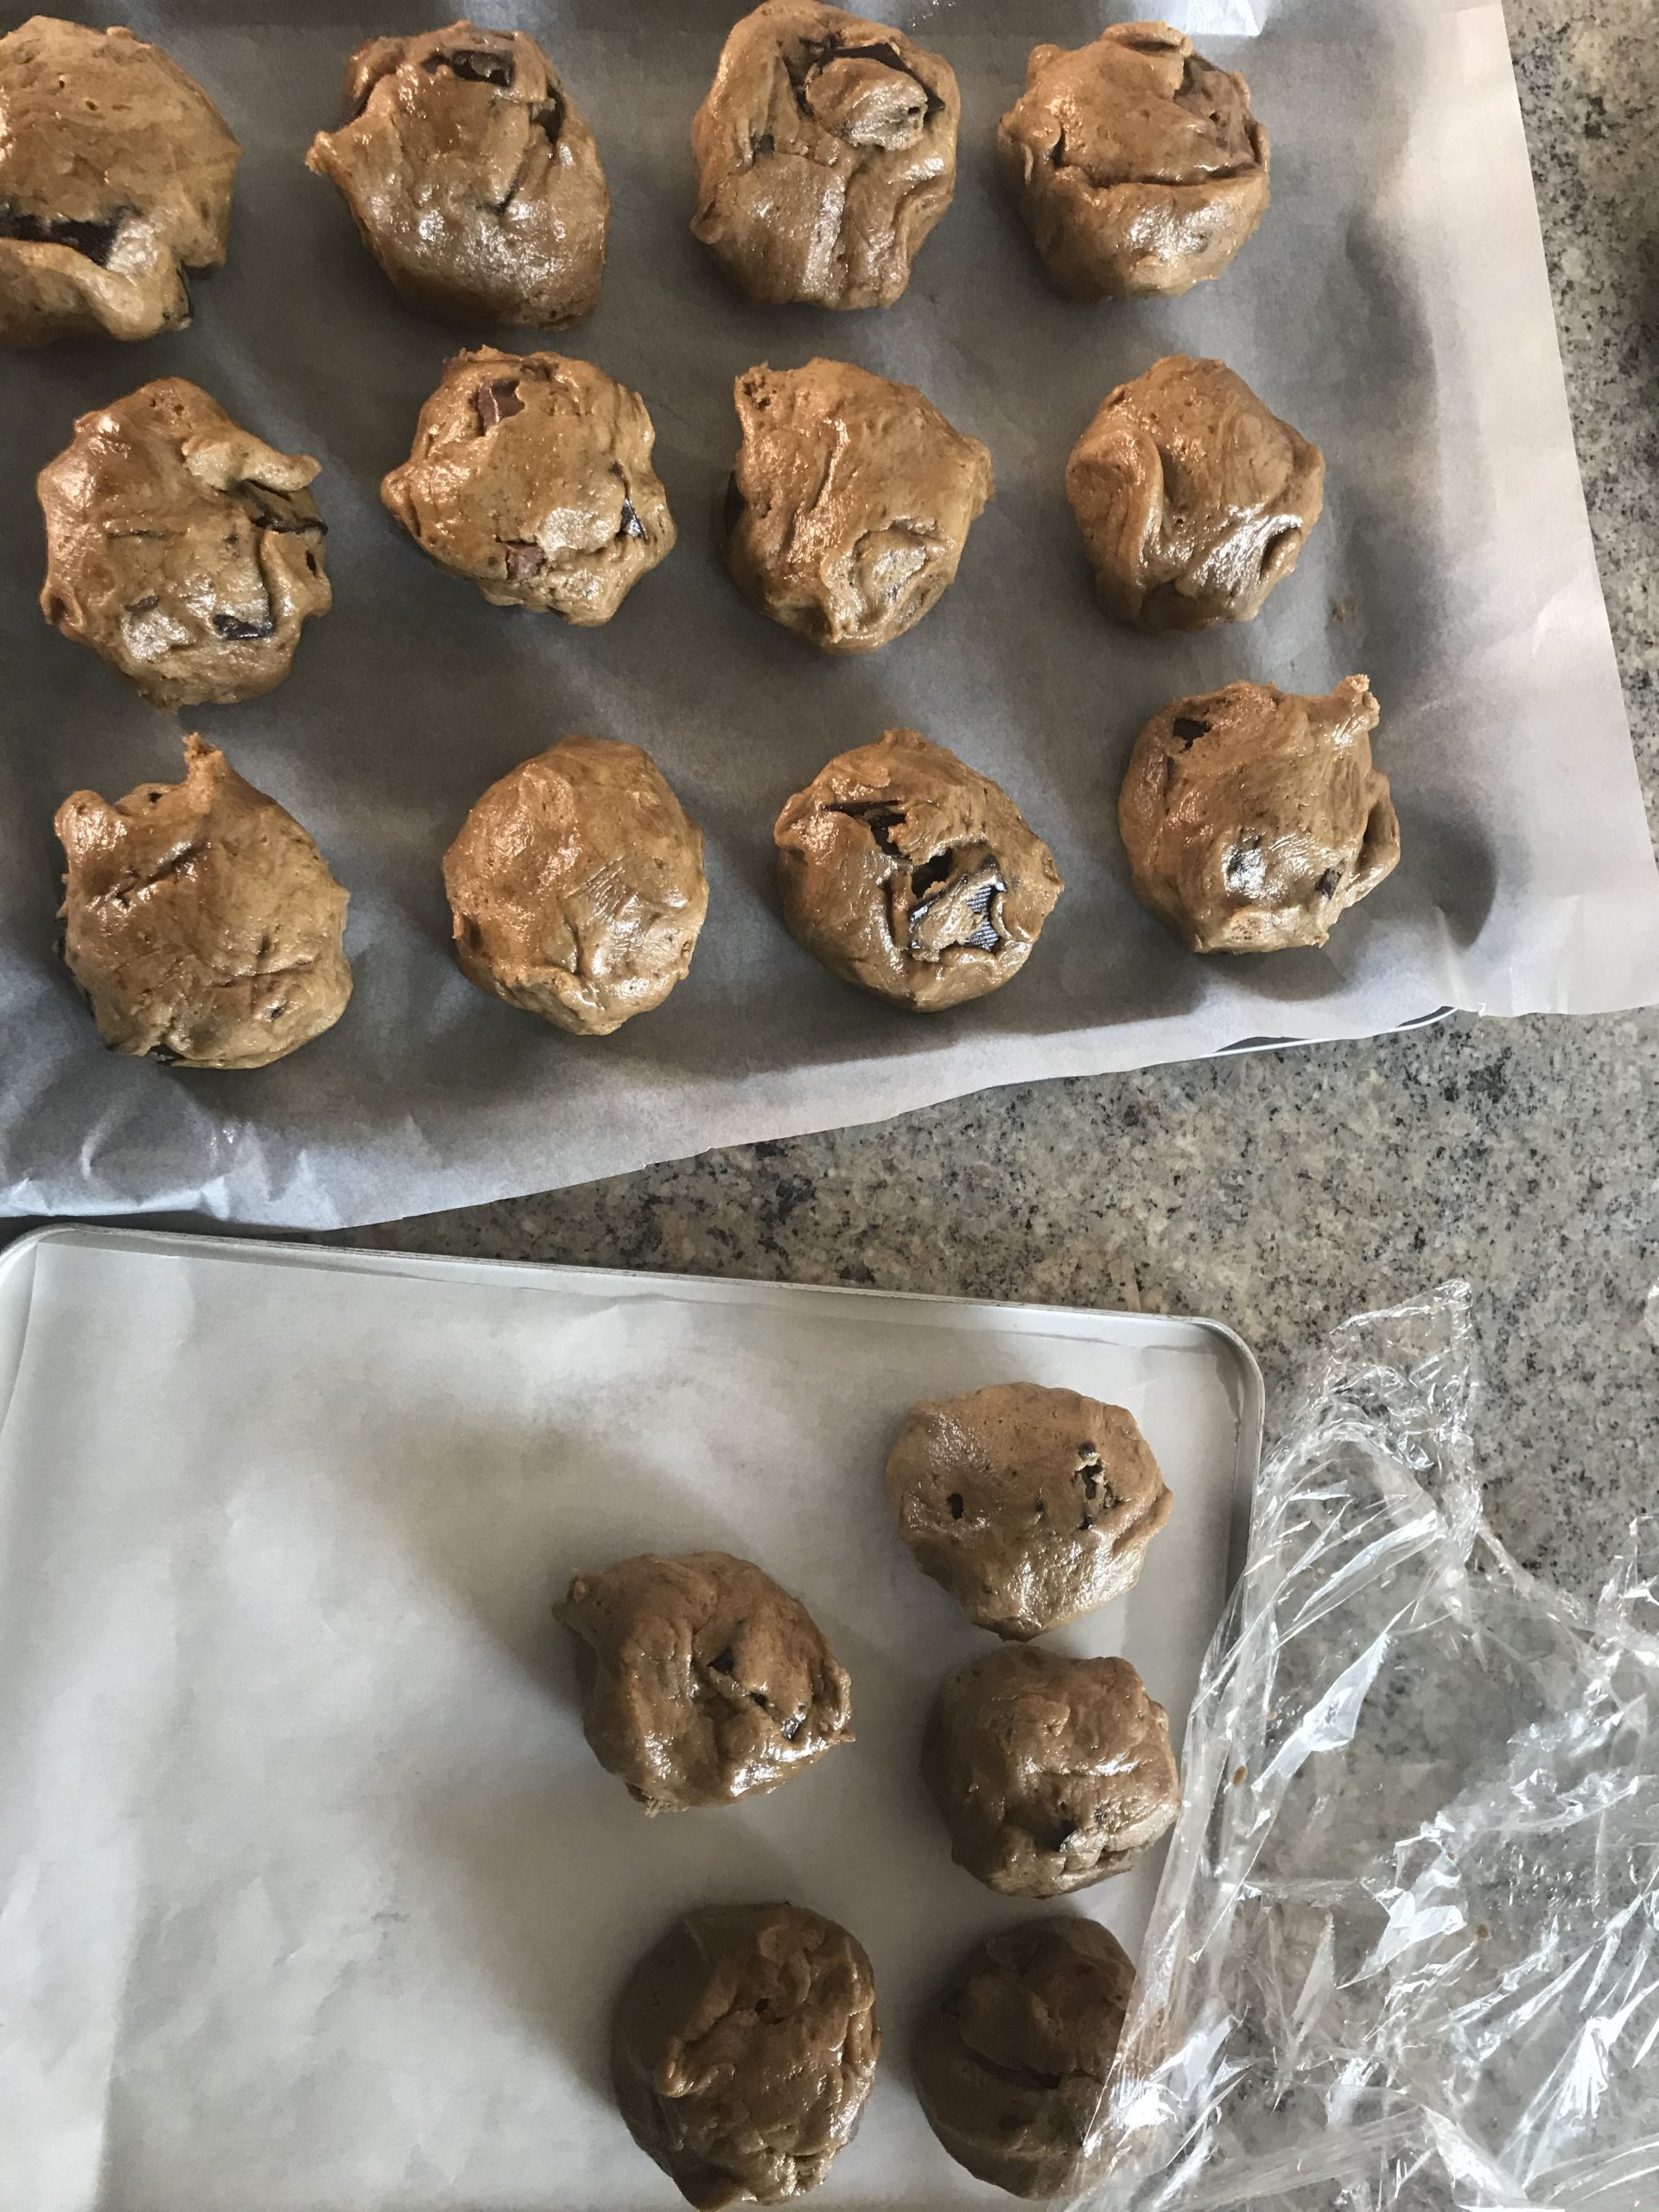
At this stage, I prefer to measure out into 2 tablespoons of cookie dough (I like to use a medium ice cream scoop) and roll them into balls and place them on a lined baking tray so that the cookie dough can chill out in the fridge for at least 2 hours before baking them. Sometimes, I will cover them and leave them overnight in the fridge to bake the following morning. More often, I will cover them and put them in the freezer overnight and then store the frozen cookie dough balls in a bag.
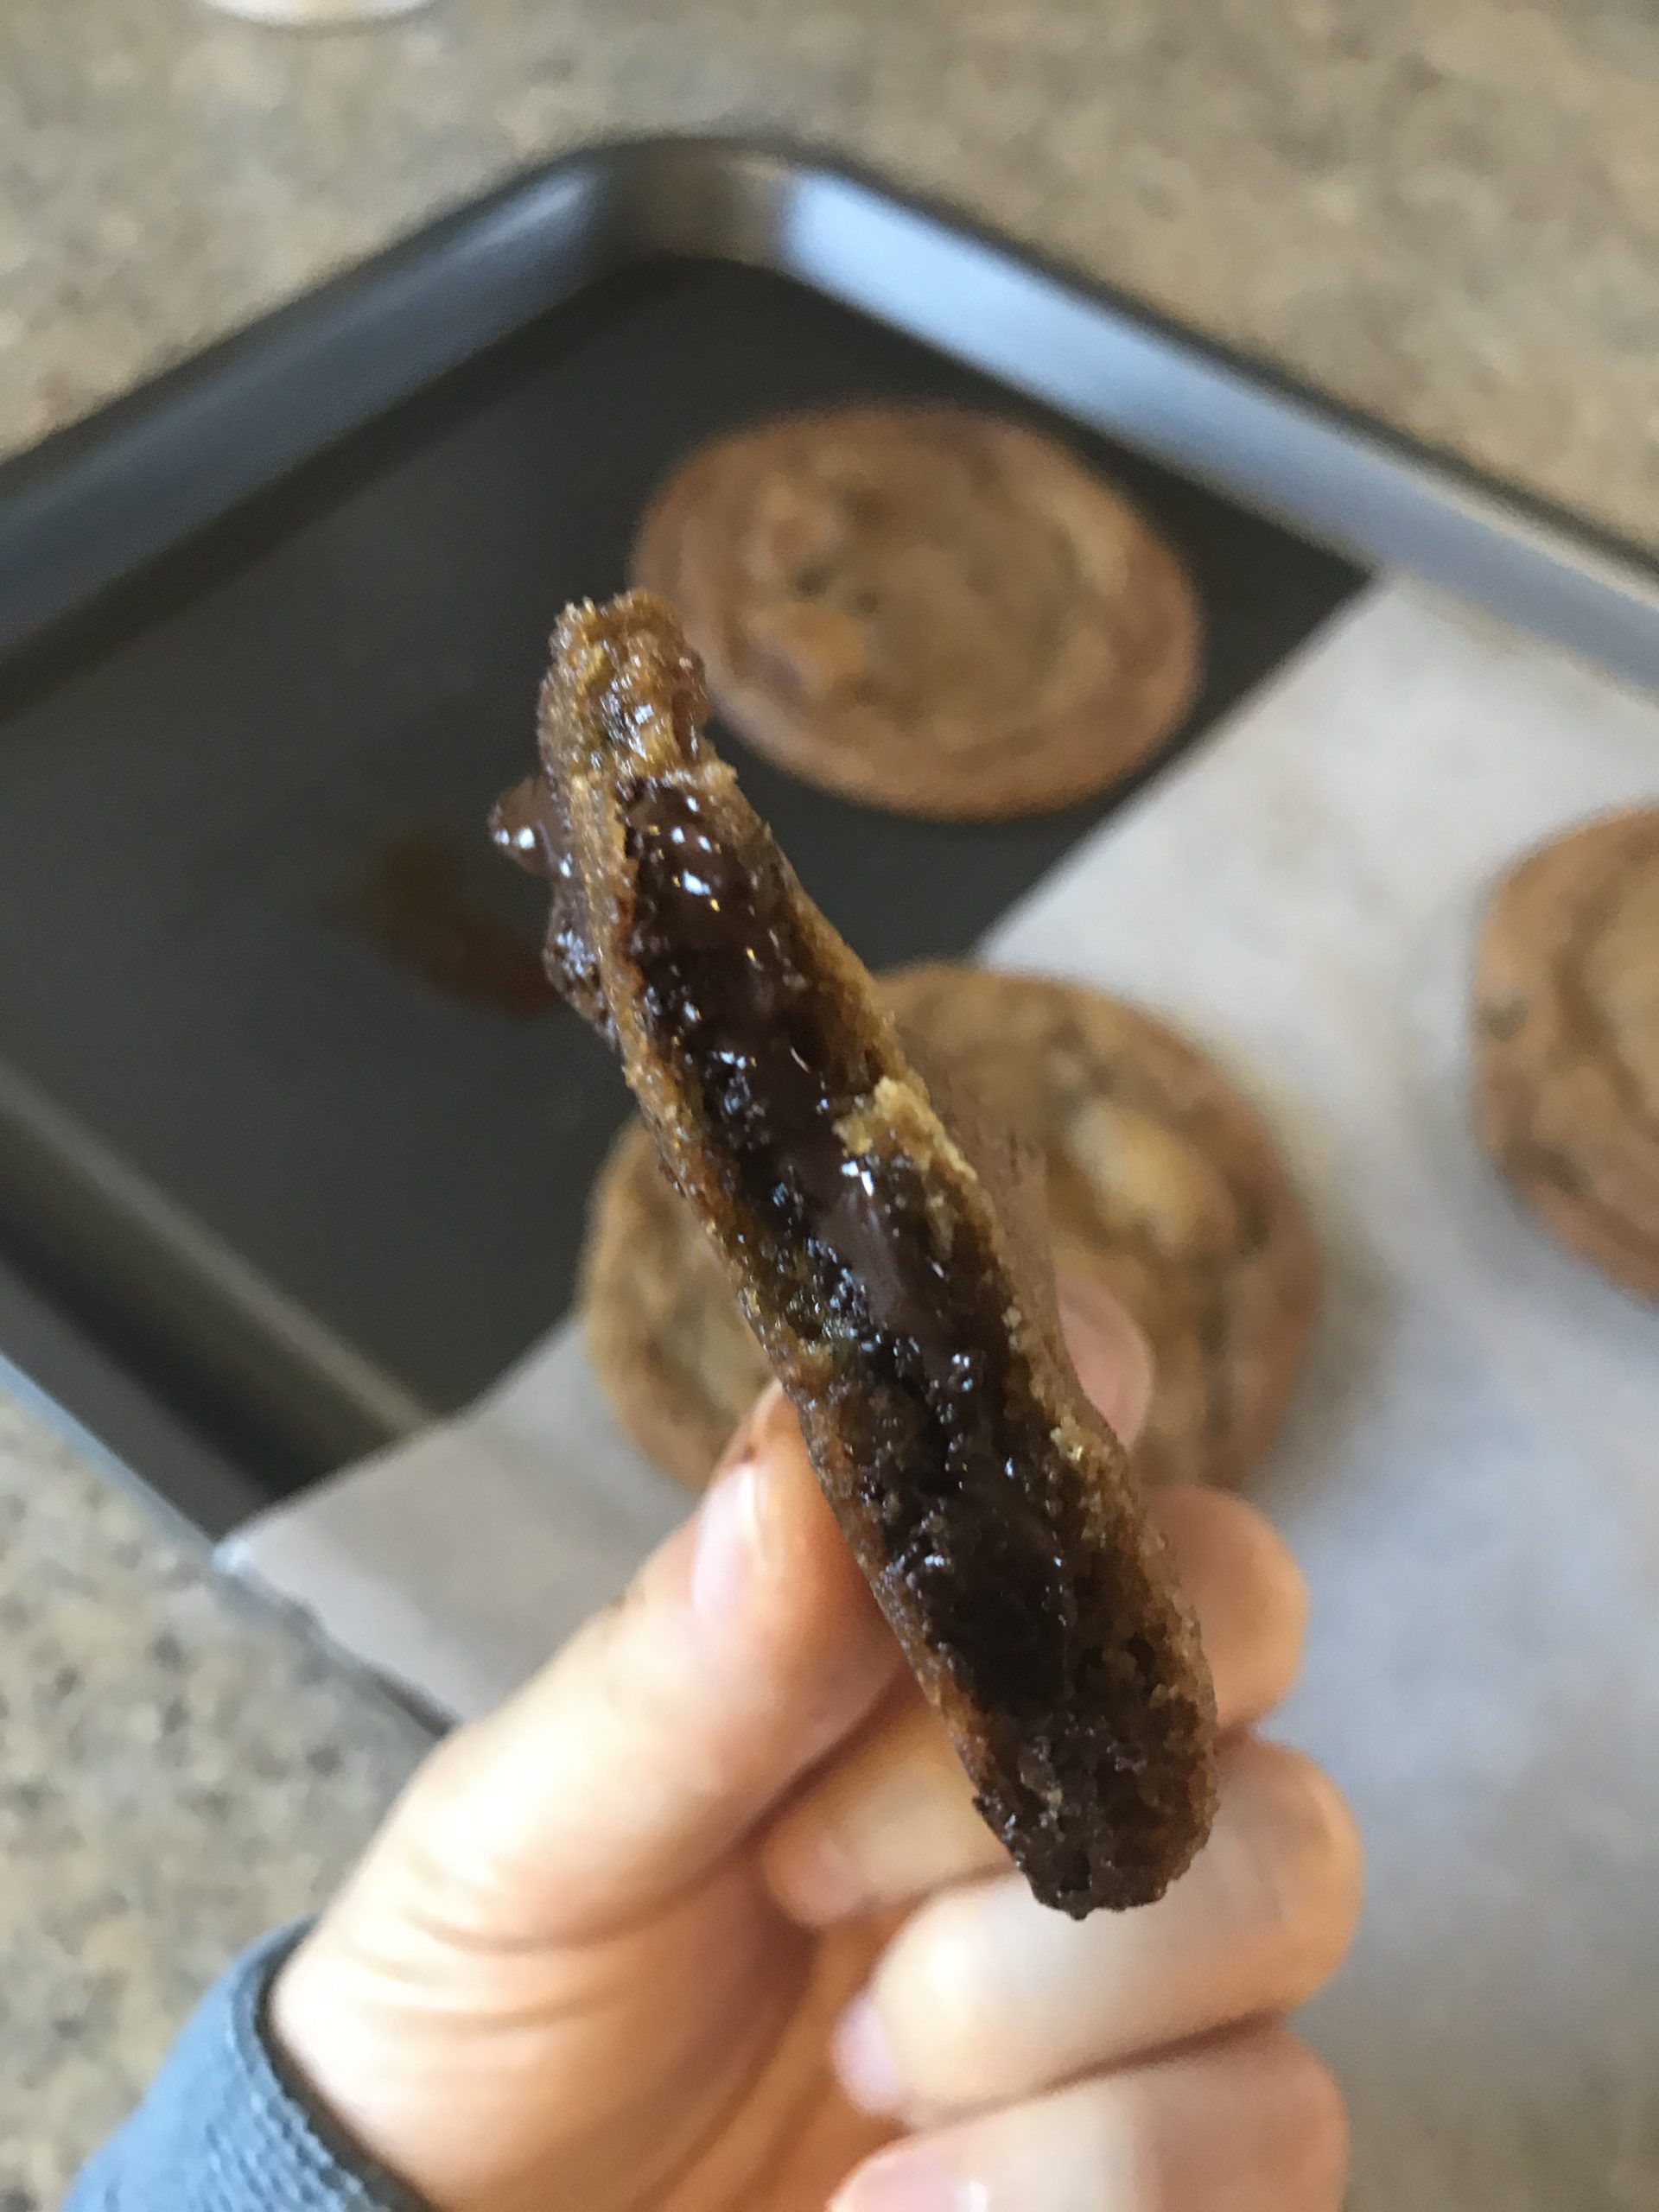
When you’re ready to bake them, pre-heat the oven to 170°C/350°F/Gas mark 4 and line a baking sheet/tray with baking paper. Space them out so that there are 5 cms between each dough ball as they will spread. Sprinkle the cookies with a bit of table salt. If baking from chilled, bake for 11-13 minutes. If baking from frozen, bake for 14-16 minutes. The dough will spread out and go a golden brown colour. The middle will be gooey so when you take it out, it is important to leave them to cool and harden for 15 minutes on the baking sheet. Otherwise it will split into many pieces and chocolate goo will cover your fingers. That doesn’t sound too bad, does it. Haha.
You’re welcome and enjoy.
My favourite way of portioning out the cookie dough is with a medium sized icecream scoop.In the absence of a scoop, weighing scales works. Preparing them for their overnight stay in the fridge hotel.
You can vary the flavour and texture. I added 140g dark chocolate and 140g chopped pecans to the cookies at the top of the post. You could substitute the pecans for walnuts or hazelnuts if you like. Play around with it and let me know how you get on.
Rarely will I just make something up and immediately conclude that it is amazing. Those who know me will testify to how I critique what I make, and recipes go through several iterations before I am happy with them. As I write, I’ve suddenly realised that this recipe also had several predecessors as a cookie re-enacted as a blondie. Wow – I had dismissed that because I hadn’t been trying to tweak that recipe. Nonetheless, this blondie came about with happy accidental happenstance.
Basically, a couple of Mondays ago, I decided that I wanted to bake brownies or blondies. On the Tuesday I ate a rich peanut brownie from Chocnroll, which satisfied my craving for brownies and so I turned my mind to blondies. When Wednesday evening happened, I had finished disseminating the findings of the first round of testing we had done on a major project I’m working on at work, written a lot of action points and very much needing to bake as therapy. Does anybody else do this? I know that I’m not alone in this.
I mentioned before that I have been working on another – yet unfinished – blondie recipe and I set out to make that. However this time, I added in another egg for extra hoped for fudginess, so that it mimicked my fudgy brownie recipe. As I browned some butter, I realised that I had no pecans nor white chocolate. So the substitutions began and a new blondie was birthed.
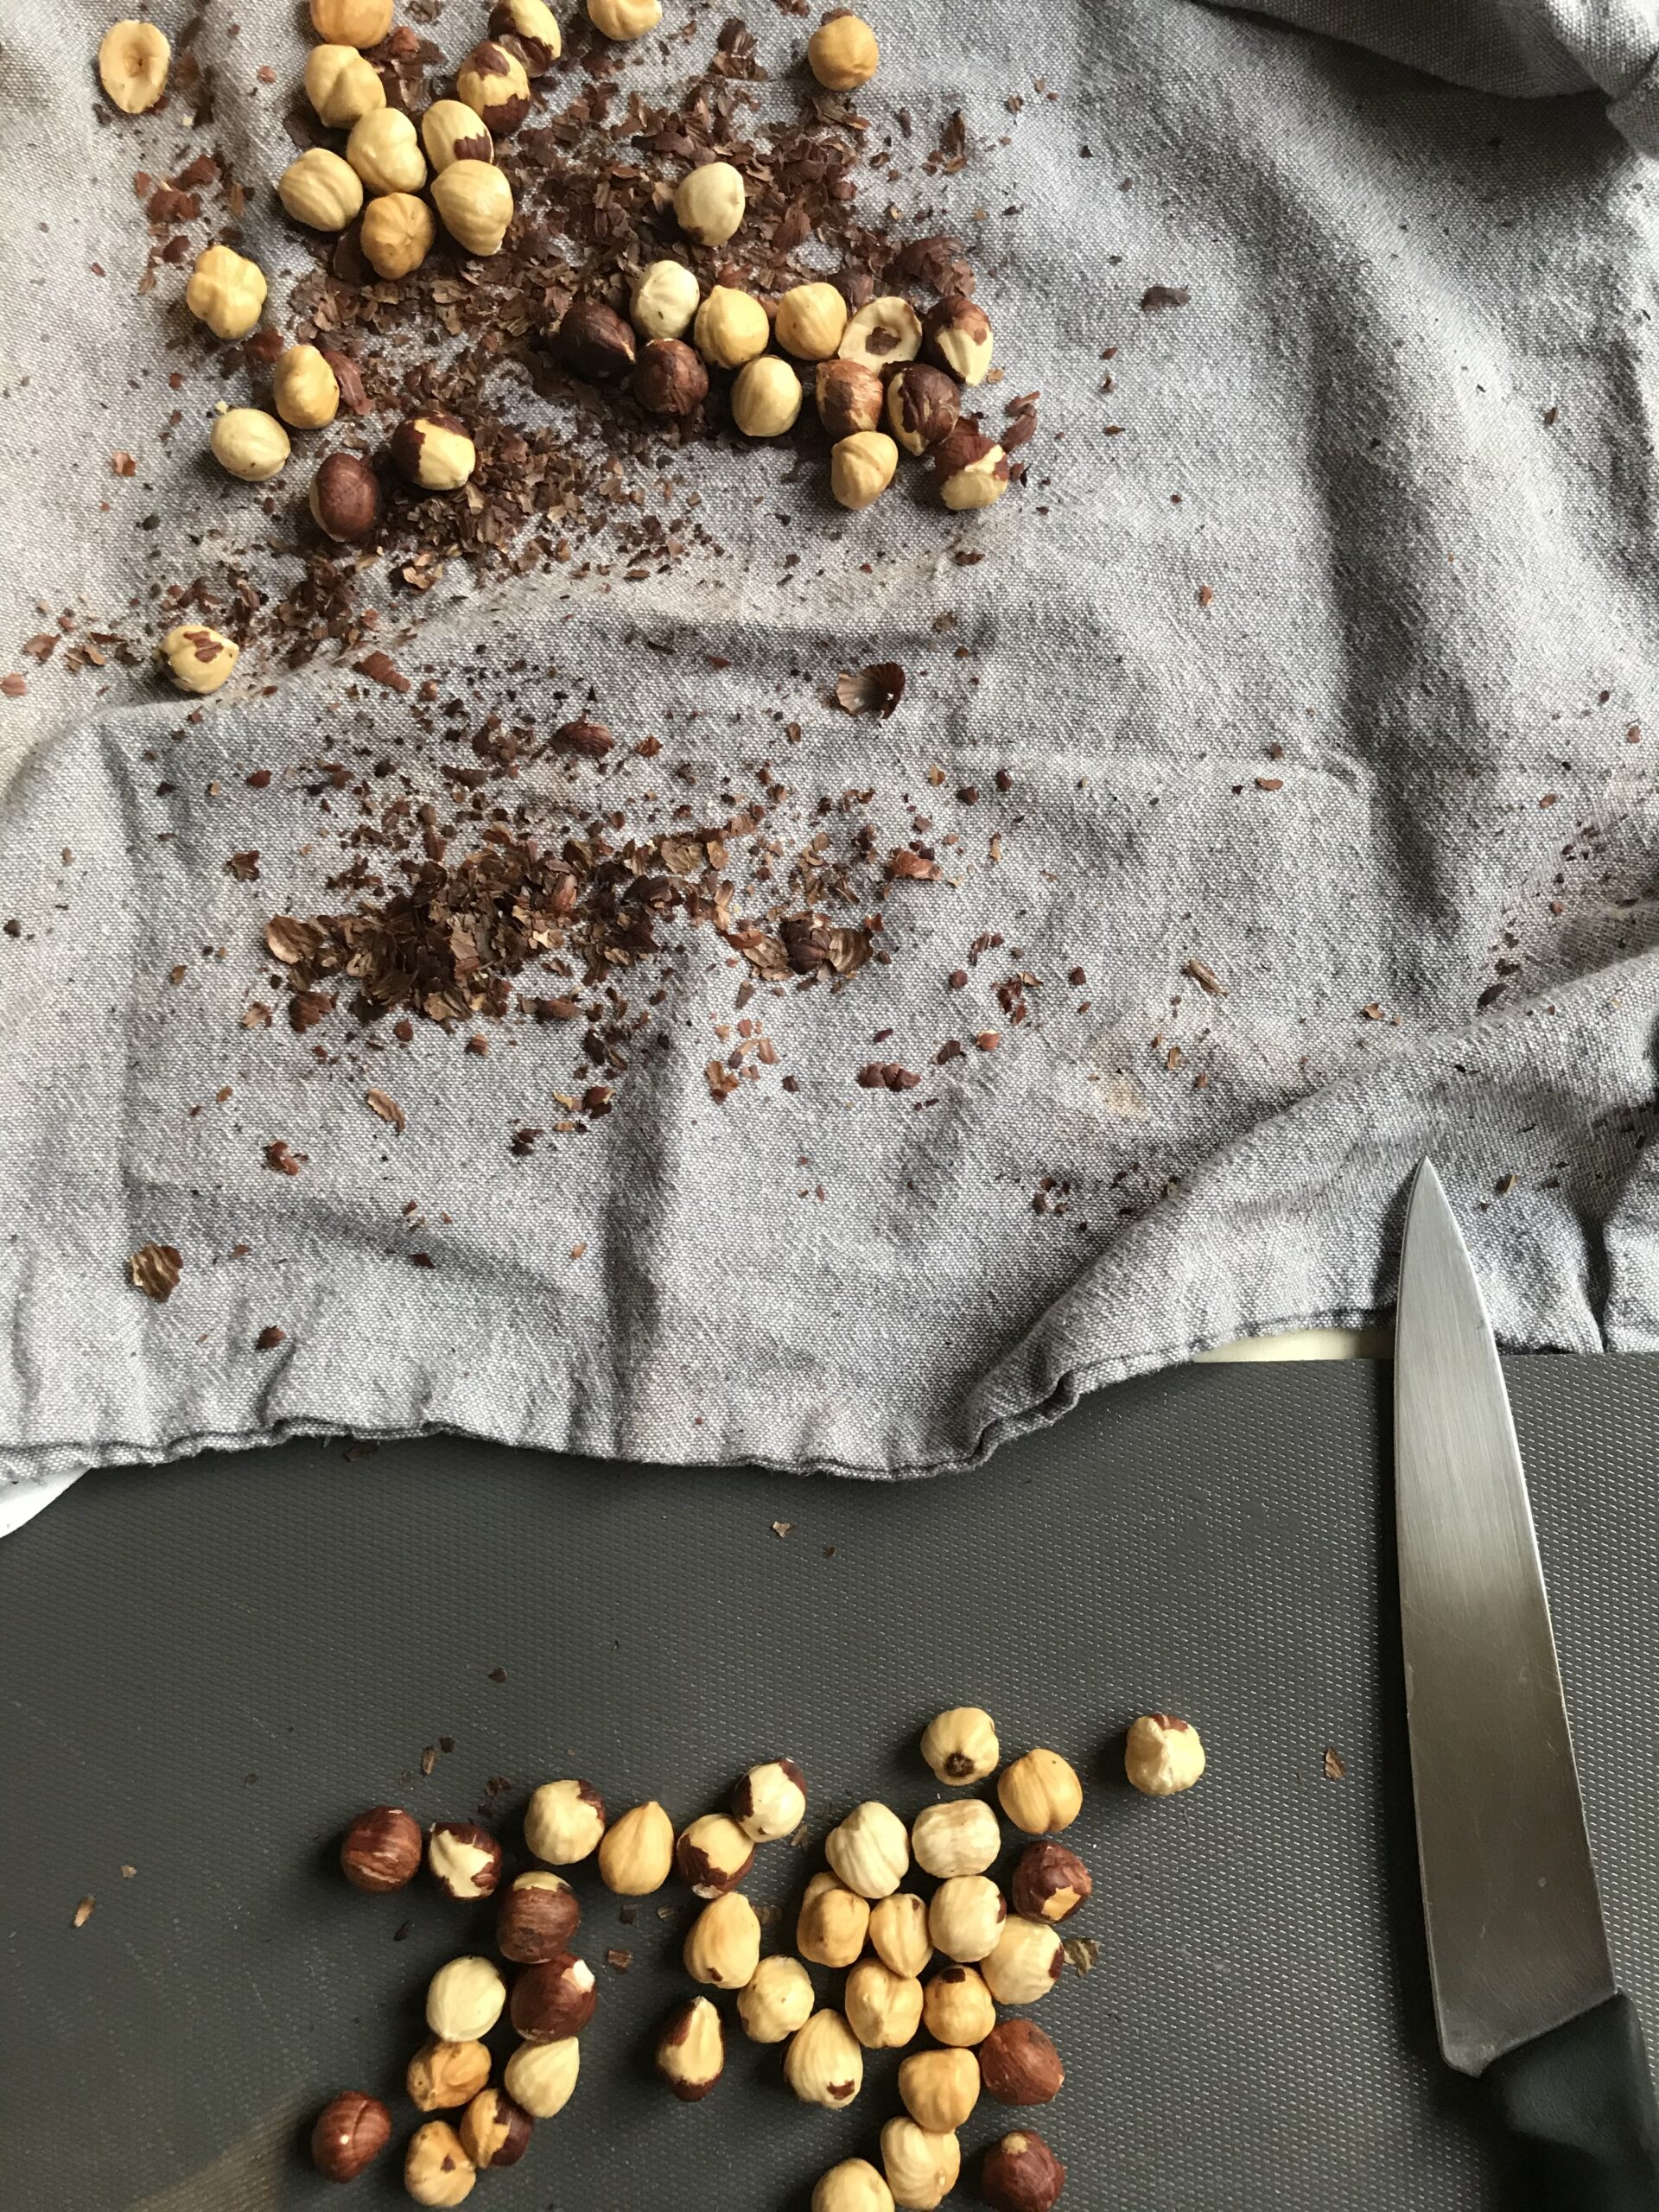
Once roasted, rub the hazelnut skins off with a tea towel – Step 2
I’ve since seen on the internet other recipes that call their version of a hazelnut and chocolate blondie a gianduja one. I’ve since thought about grinding up hazelnuts to make a chocolate hazelnut butter that I add in as a layer in the middle or on top. Then in consultations with friends, I decided that this added layer of complication takes away from the simple joy of baking blondies. Admittedly the browning of the butter may be a step too far for some, but it is so essential for the flavour! I promise you that it will be worth learning a new technique that you can use over and over again.
Ribbon stage – Step 4
Ingredients for Brown Butter, Hazelnut and Chocolate Blondies
200g butter which I then browned
200g dark brown sugar
3 eggs
1/2 tsp salt
200g plain flour
100g hazelnuts
150g chocolate. I used 100g of milk and 50g dark chocolate.
Method
Preheat the oven to 350F/180C or 170C fan.
Roast the hazelnuts first for 10 mins using the baking tin for the blondies, until the skins come off them. Use a dry tea towel to rub the skins off the hazelnuts, then chop just over half of them. Don’t miss out this step.
Brown the butter: melt the butter in a medium saucepan on a medium heat and it will start to froth and cackle. That is the water evaporating. Continue and stir the sides and scrape the bottom a few times so that it doesn’t burn. When it is ‘as quiet as a ninja’ (quote from Stella Parks) it is ready. Take it off the heat and either pour the butter in a bowl to cool down, not forgetting to scrape the browned bits from the sides and bottom. Or as I often do, fill up the sink with cold water and carefully place the hot pan in there to cool down.
Now whisk the eggs and sugar together until it is at a ribbon stage. I used a stand mixer on a medium setting (3 on a Kenwood) for about 8 mins. I have instructions on whisking to a ribbon stage in my fudgy brownie recipe
As the eggs and sugar are whisking, line the tin. I used a 20cm square tin.
Now on the lowest setting, continue whisking but pour in the butter and add the salt. Whisk again on a medium setting until combined. I’m always amazed by the reaction and how it goes to almost like a buttercream consistency.
Fold in the flour, chopped hazelnuts and chopped chocolate.
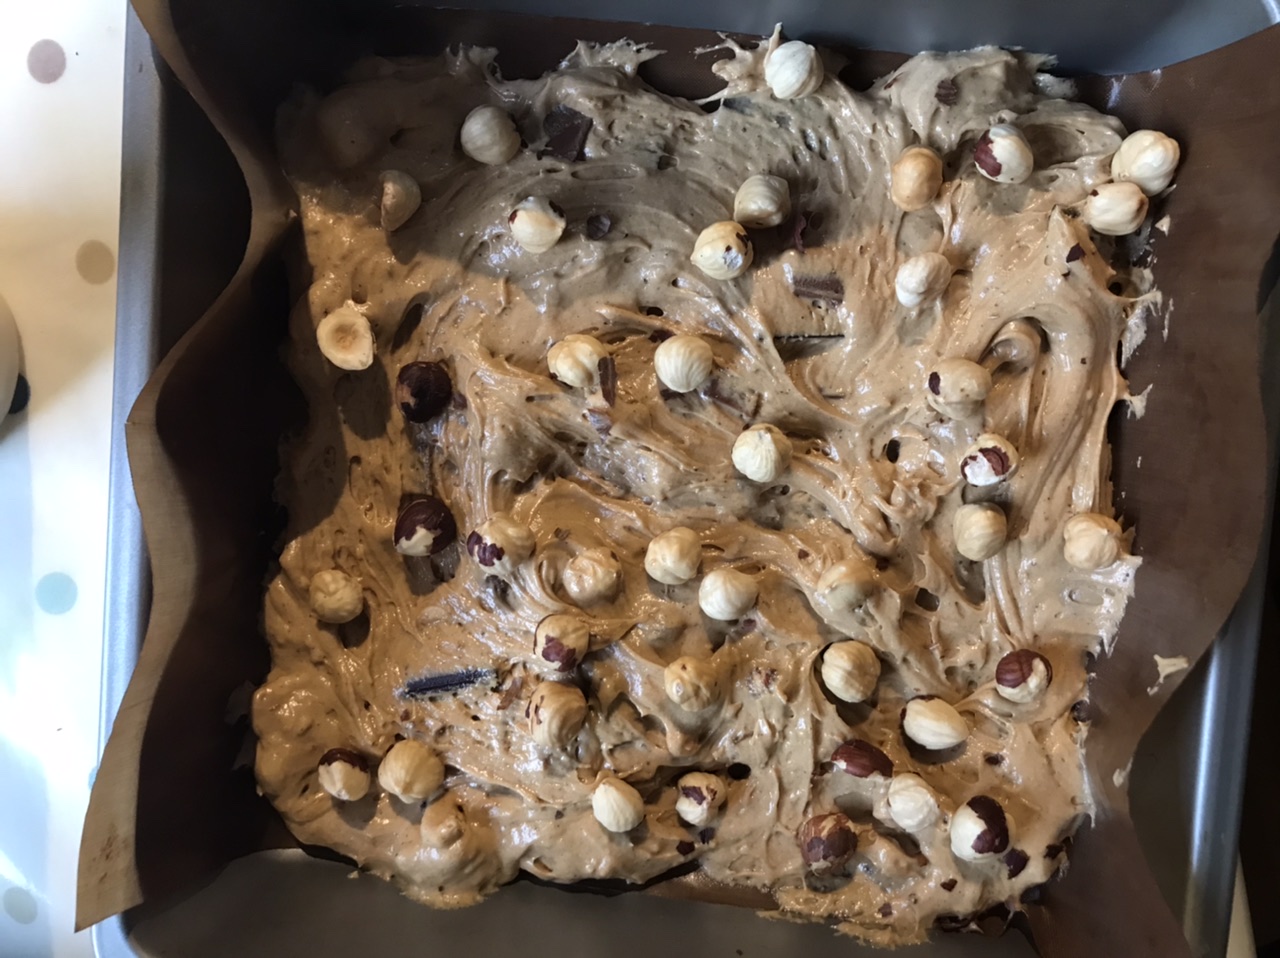
Pour half the mixture into the tin, sprinkle over the unchopped hazelnuts and pour the rest of the mixture into the tin.
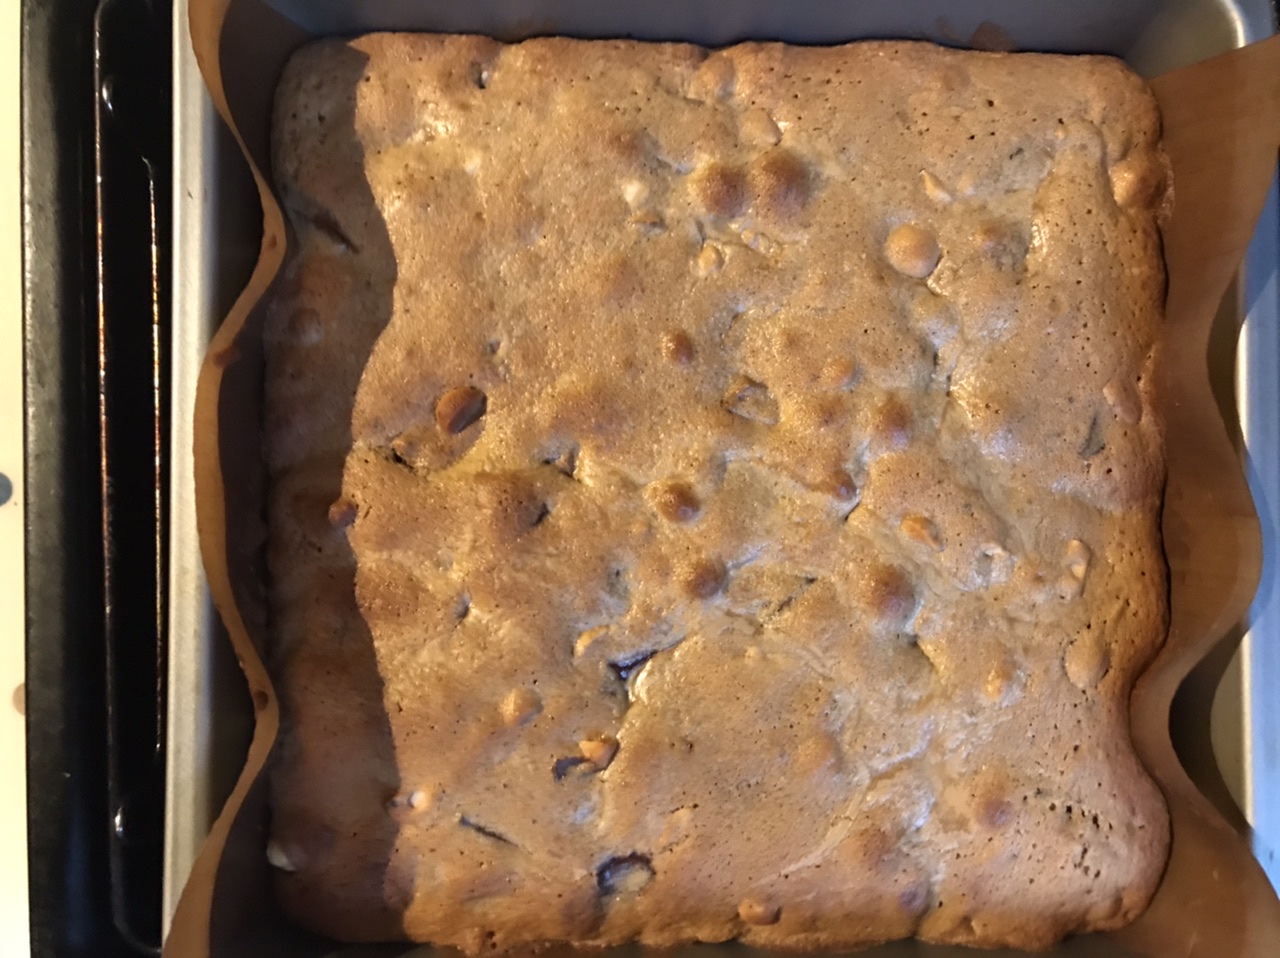
Bake in the middle of the oven for 17-20 mins until cooked on top. If it looks a bit jiggly, that is ok. It’ll harden up as it cools.
Allow to cool completely. I like to leave mine overnight. And then cut into 12-16 pieces.
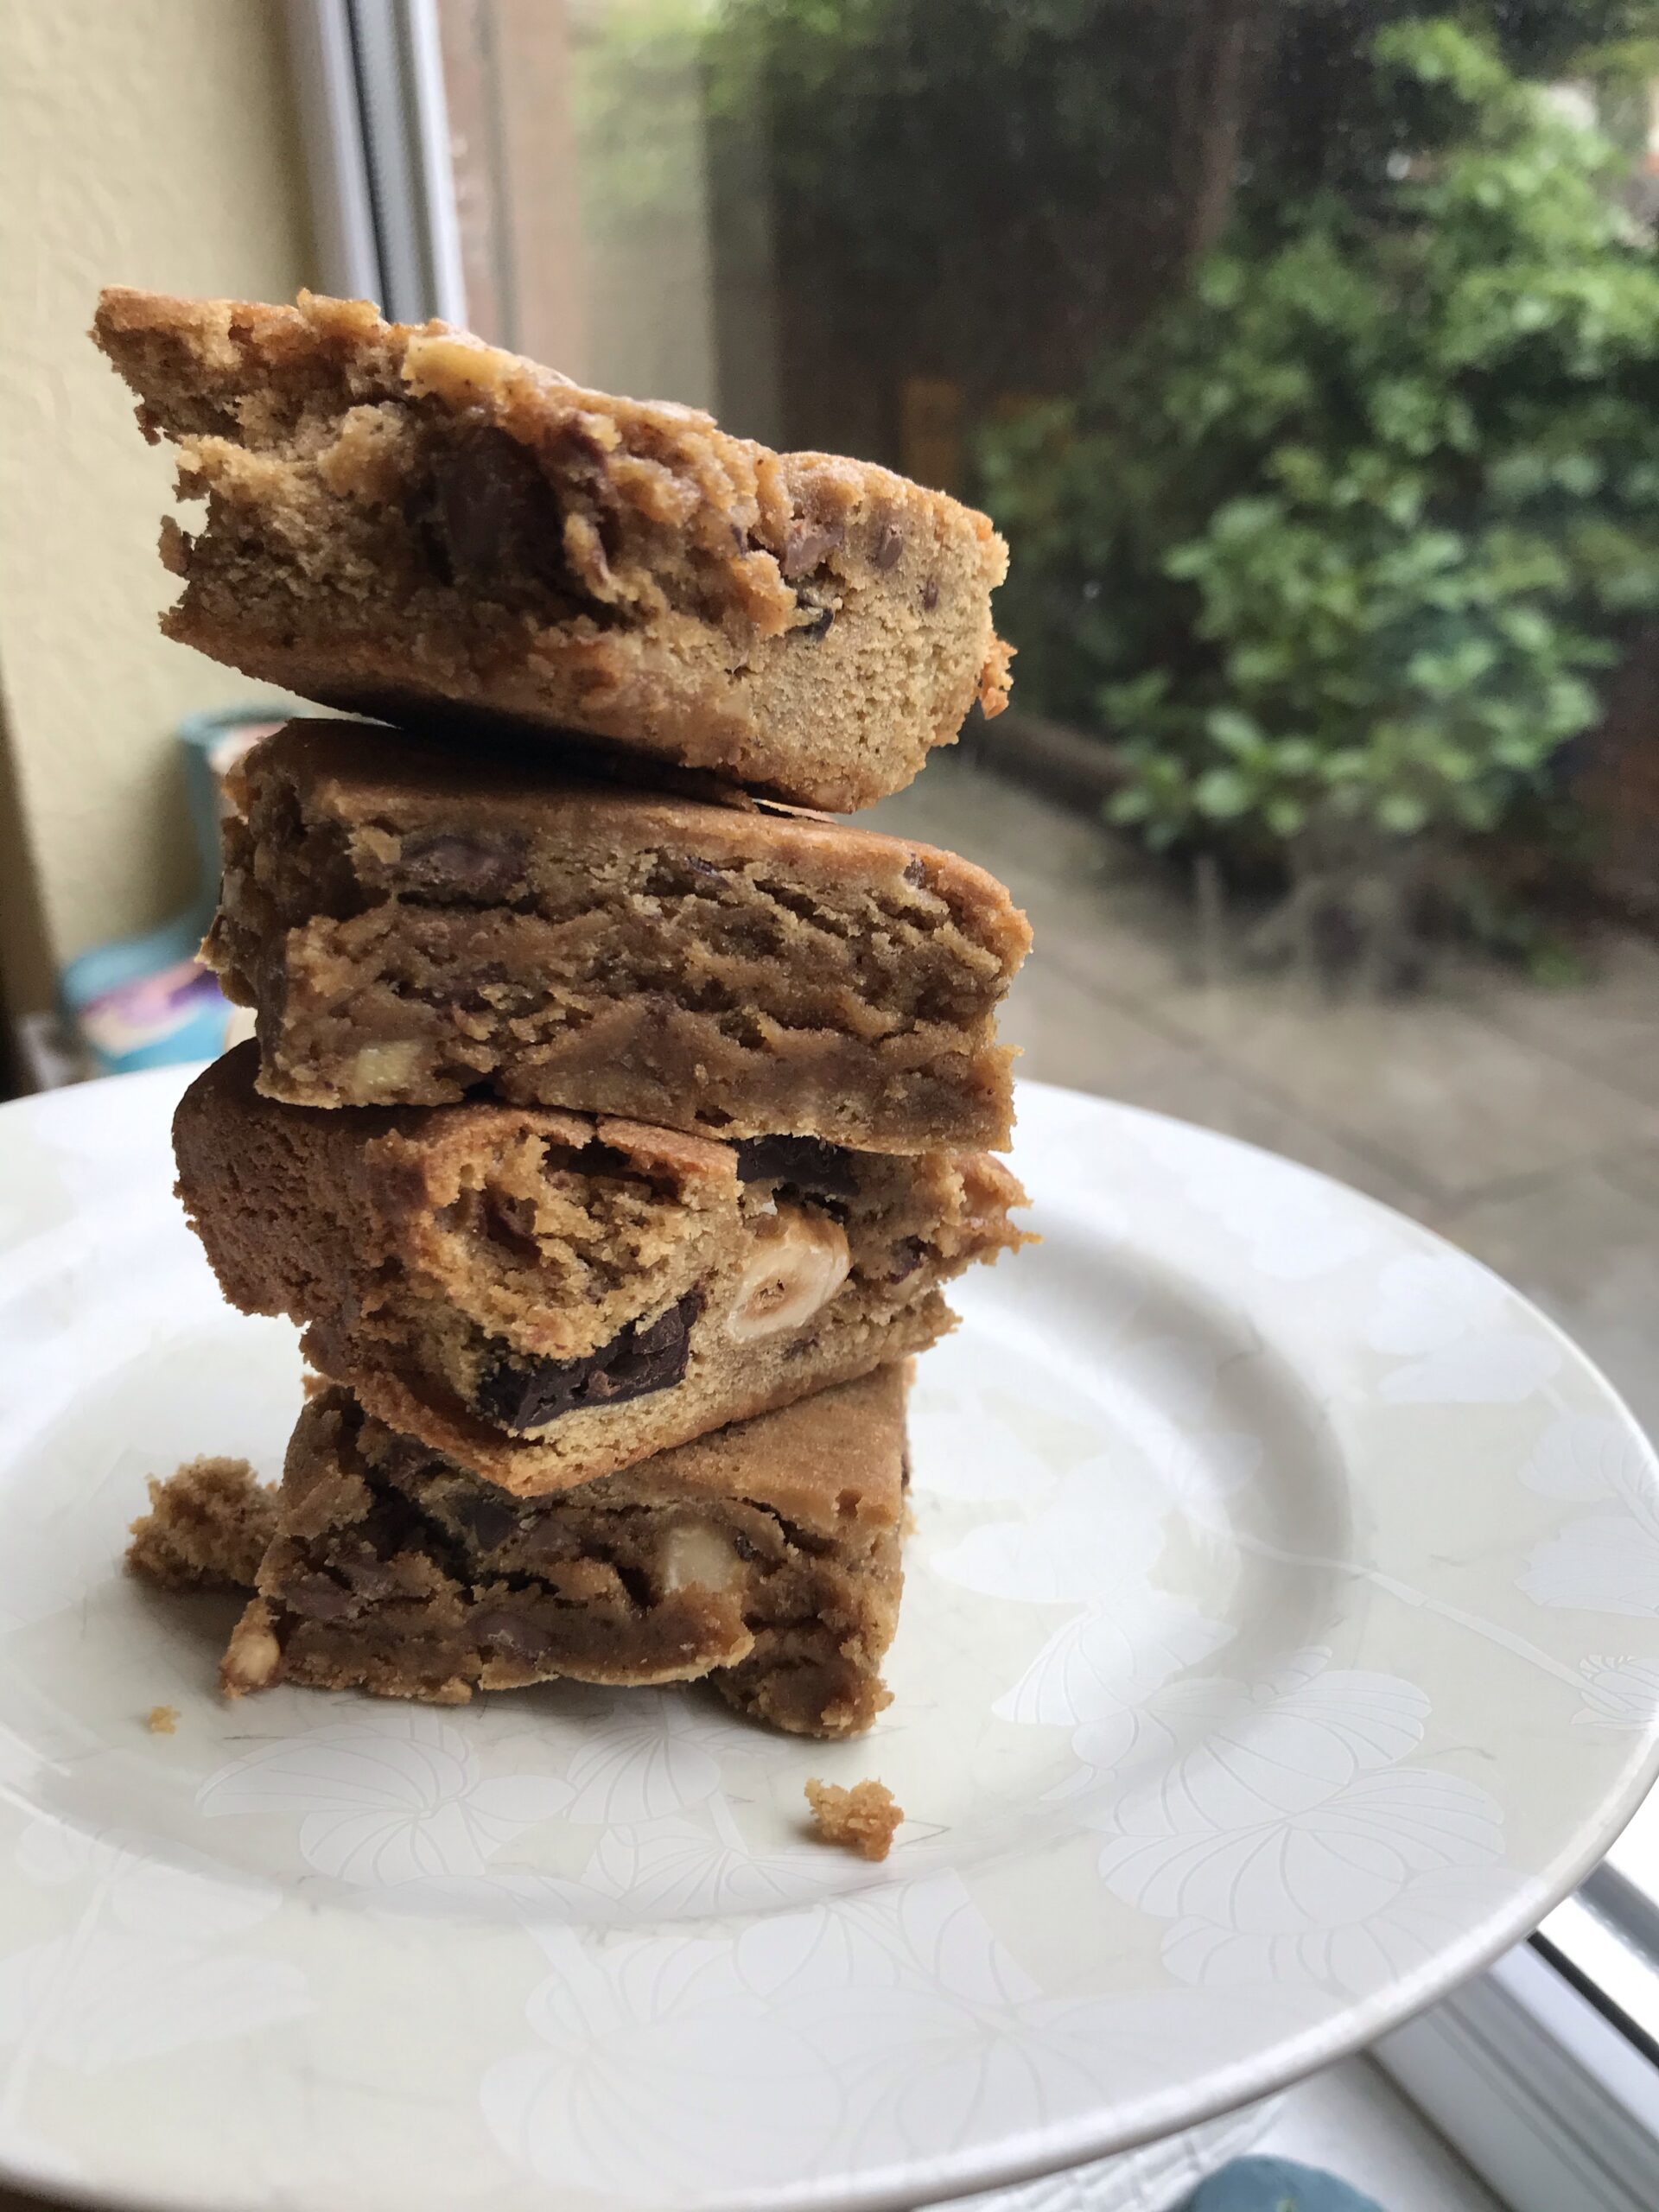
Hazelnuts added as a middle layer – Step 8The baked brown butter, hazelnut and chocolate blondies
And the verdict? Suitably more-ish, dense and fudgy. Surprisingly not overly sweet with the milk chocolate because of the dark chocolate. Lastly, it is always worth roasting the hazelnuts because it improves the texture and flavour.