Do we need another brownie recipe? It’s a 100% YES from me, when it includes peanut butter in a chocolate brownie. The salty sweetness from this combination is marvellous. For 4 years on and off, I have been thinking about how to make this, buying various peanut butter brownies to explore what it is that I’m after and testing out various recipes. Then, Smitten Kitchen’s peanut butter swirled brownie recipe gave me the step up I needed to get to this recipe. I don’t know why I didn’t search her recipes earlier, to be honest.
There are a few lessons that I’ve learned on the way. Firstly, if you use peanut butter straight from the jar, with no addition of sugar or egg, it dries out in the oven and goes claggy in your mouth. Then I read (and dismissed) various probably wonderful peanut butter recipes that used milk chocolate, or incorporated the peanut butter into the batter because I realised that I wanted to eat distinct peanut butter bits. Next, I tried Smitten Kitchen’s swirled approach and I realised that I preferred the peanut butter evenly spread out, rather than marbled through. Lastly, if you chill the peanut butter mixture in a fridge or preferably in a freezer, it is malleable and less messy to shape.


For this recipe, I’ve combined my fudgy brownie recipe and adapted Smitten Kitchen’s peanut butter batter. I had followed her recipe going on what she says about acknowledging the high sugar level but promising that it won’t taste excessively so. However the family (including the kids) I live with, all found it overly sweet and rich. So, I’ve pretty much halved the sugar, not just because I’m a ‘let’s halve the sugar’ fiend. Mind you, I wasn’t using her brownie recipe, so perhaps that’s where it made a difference.

I’ve made this gluten free quite easily by replacing the plain flour with a plain gluten free flour mix. I double check the peanut butter to make sure that there are no hidden ingredients in there that gluten-free people can’t eat. I’ve yet to find one…
Ingredients for 16-20 mini peanut butter brownies, adapted for Smitten Kitchen and my infinitely adaptable fudgy brownie recipes.
Peanut butter mixture
- 190g smooth or crunchy peanut butter
- 80g soft brown sugar
- 1 egg
- 1/4 tsp vanilla extract
- pinch of salt (ONLY if there is no salt added in your peanut butter)
Brownie batter
- 150g unsalted butter, cut into small cubes
- 150g dark chocolate (at least 60%), roughly chopped
- 3 large eggs
- 180g caster sugar
- 100g plain flour
- 20g cocoa powder
- 1/2 tsp of salt
- 1 tsp of vanilla extract
Method:
- Preheat the oven to 180°C/355°F/Gas Mark 4. Line a deep tin. For this quantity, a 20cm square tin or a rectangular 27x20cm or 28x18cm will work.
- First, make the peanut butter batter by adding all the ingredients into a small bowl and mixing it together with a spatula. Then put it into the freezer for 10-15 minutes so that it becomes stiff but still pliable. If you remember to, mix it once halfway through.
- While the peanut butter batter is in the freezer, melt the chocolate and butter together and just after t has melted, add in the salt and vanilla extract and leave it on the side to cool down. There are various methods you can do this, which I’ve detailed in my previous infinitely adaptable fudgy chocolate brownies recipe.
- Measure out the flour and cocoa powder into a small bowl. Sieve it if there are lots of lumps in the flour and cocoa. Otherwise, I use a whisk to loosen and mix them together.
- As soon as the chocolate/butter mixture is off the heat, crack the eggs into a medium-sized bowl, or a stand mixer bowl, and add the sugar. Use a stand mixer or an electric hand mixer on high speed to start whisking the eggs and sugar until they are at a ribbon stage. Ribbon stage is when the egg and sugar mixture is a pale yellow colour, doubled or even tried in volume and when you lift the whisk over the mixture, the batter will fall slowly and leave a trail like a ribbon that will hold its shape for a few seconds. It will take about 10 minutes. I often use a timer to make sure that I whisk them for long enough. Don’t start whisking the eggs and sugar together until the chocolate and butter have melted because this needs time to cool down.
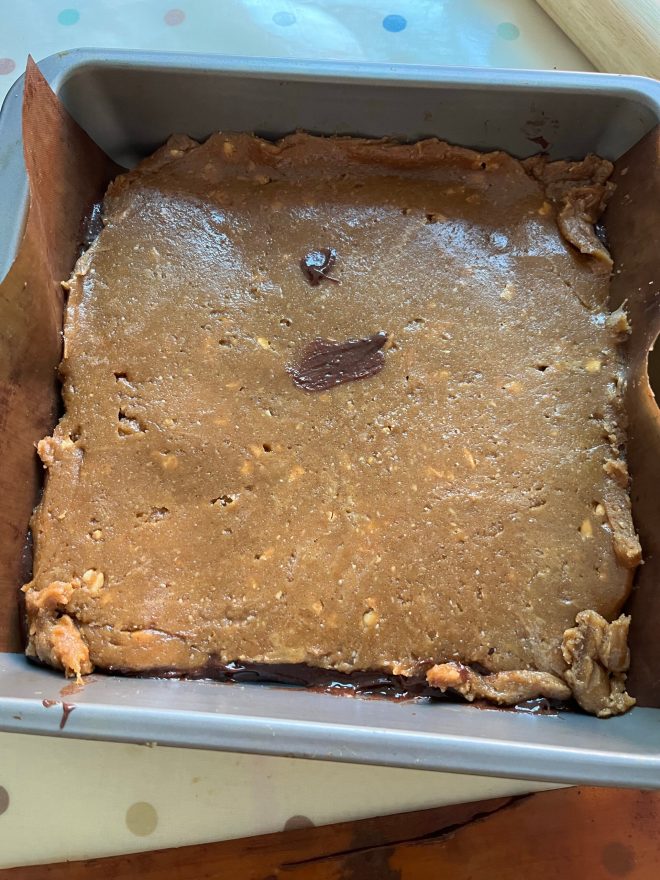
- While the eggs and sugar are whisking, it’s probably time for the peanut butter batter to come out of the freezer. It should be sufficiently hardened but pliable (like the consistency of soft plasticine or play dough). Roll and shape it between two pieces of baking paper, so it is even and the size and shape of the baking tin (see photo).
- When the eggs and sugar have reached a ribbon stage, reduce the speed to low and add the melted chocolate and butter mixture to the eggs and sugar. Whisk until it all appears to have mixed together. You may want to use a spatula around the sides and bottom to check.
- Now fold in the flour and cocoa powder using a spatula, or a spoon until it is well combined.
- Pour half the mixture into the baking tin. Then carefully position the peanut butter batter layer on top and peel away the baking paper. Then add the other half of the brownie mixture on top, creating a peanut butter brownie sandwich (see photos).
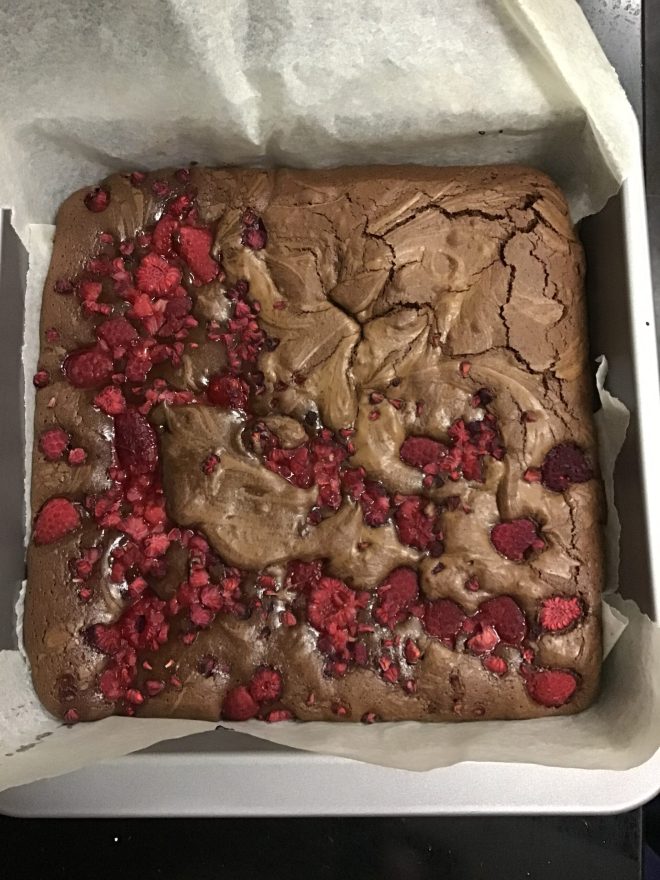
- Bake in the oven for 18-20 minutes. They should be firm to touch at the top but still wobble when you shake it. Leave to cool completely in the tin and if you can bear it, cover them and leave them overnight in the fridge. They will be easier to cut and the flavours will have deepened.
The verdict? It is everything that I’d hope for in a peanut butter brownie. 4 years is a long time to be thinking about a recipe, but I can say that it was worth persisting. Normally, I say to leave it overnight but even I couldn’t resist cutting a little square to check if I’d found my peanut butter brownie recipe. Only – if like me you don’t want to wait overnight, perhaps wait an hour or so. I may not have waited and burned my mouth. 😂 Enjoy.